Resources
How to create, edit, and remove resources.
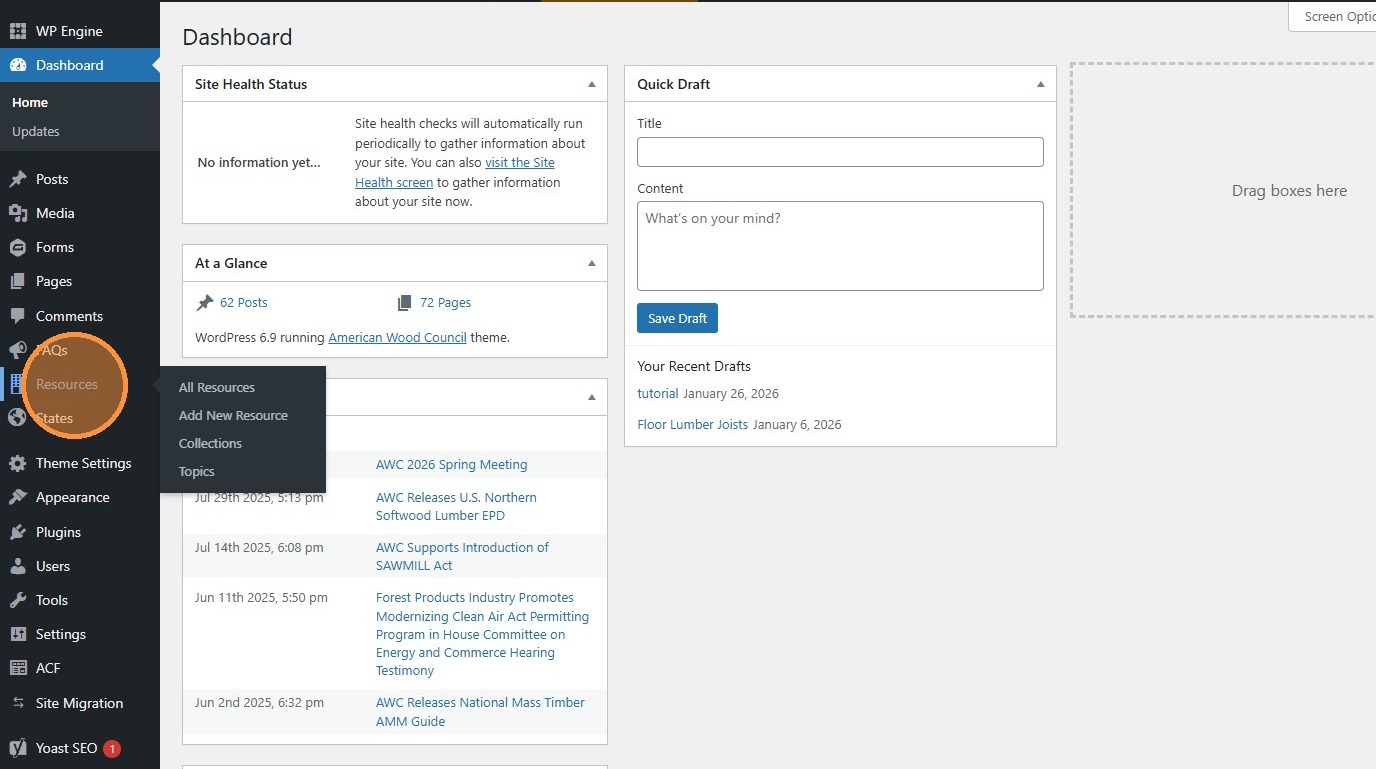
- Navigate to https://awc.org/wp-admin/, and click “Resources”.
This is where you can edit the resources that appear in the Resource Hub.
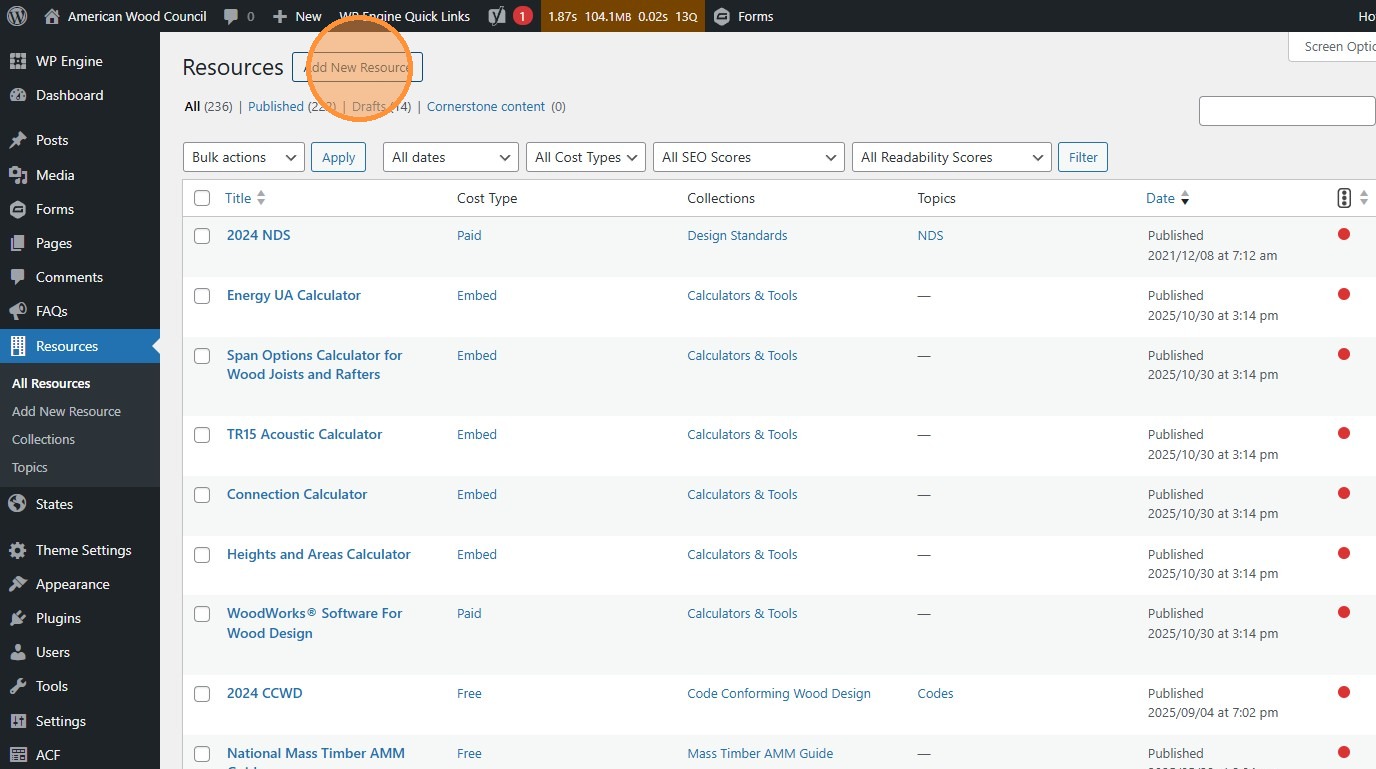
- Click “Add New Resource” to add a new resource
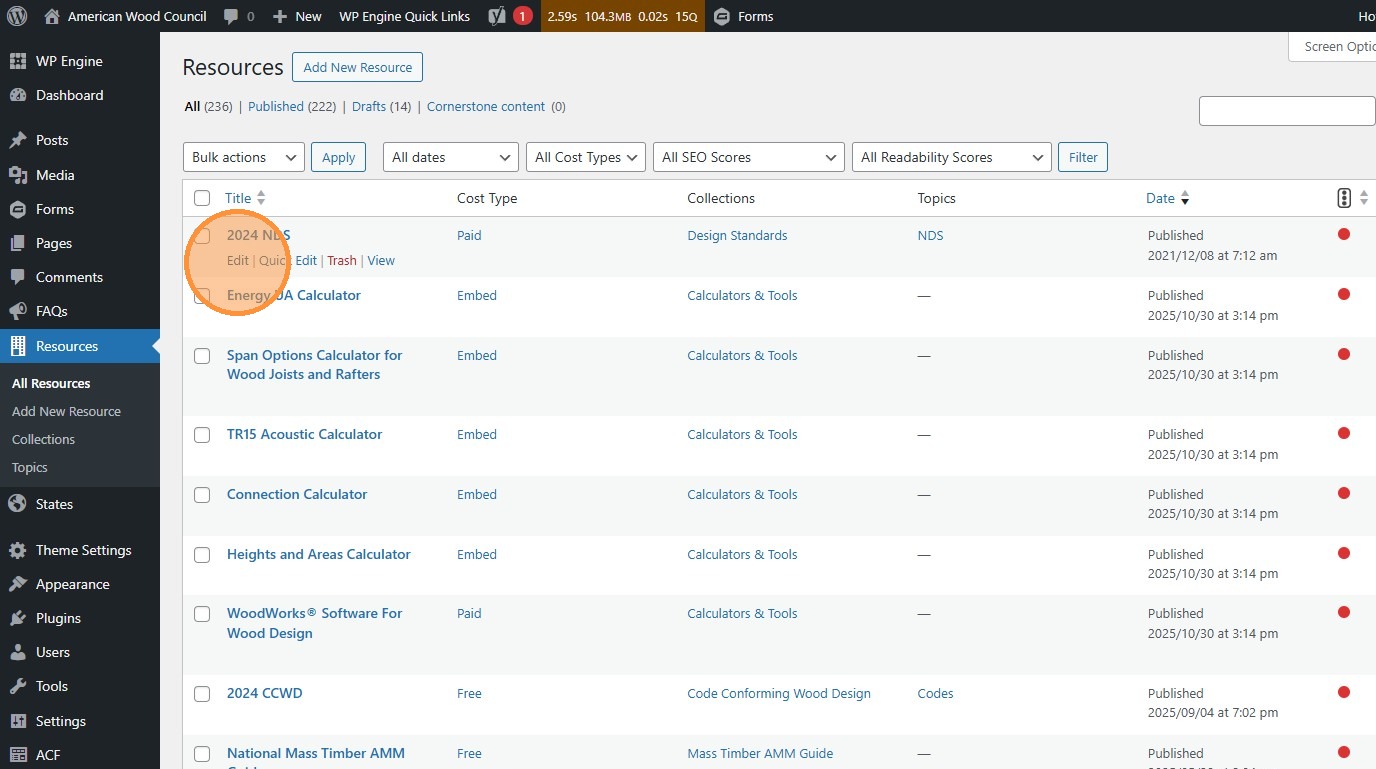
- Click “Edit” to edit an existing resource
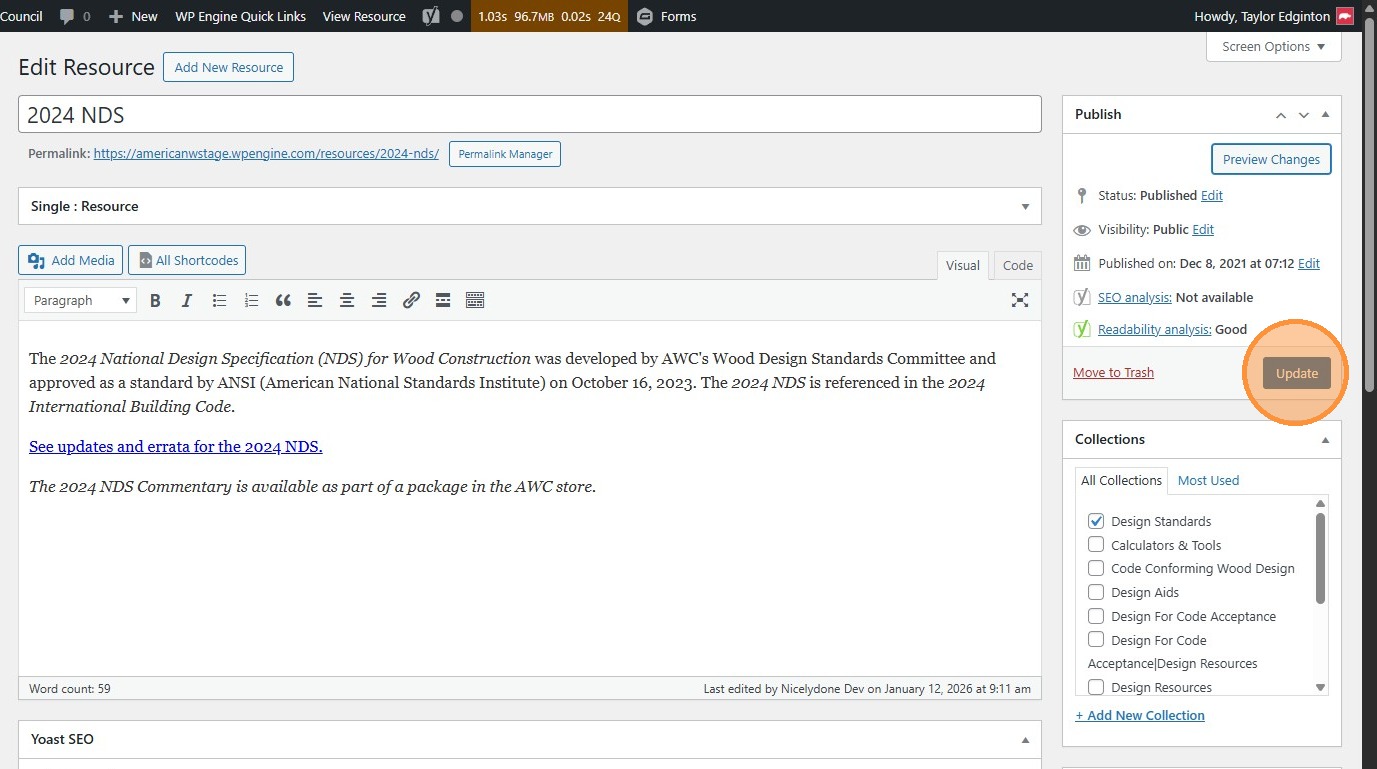
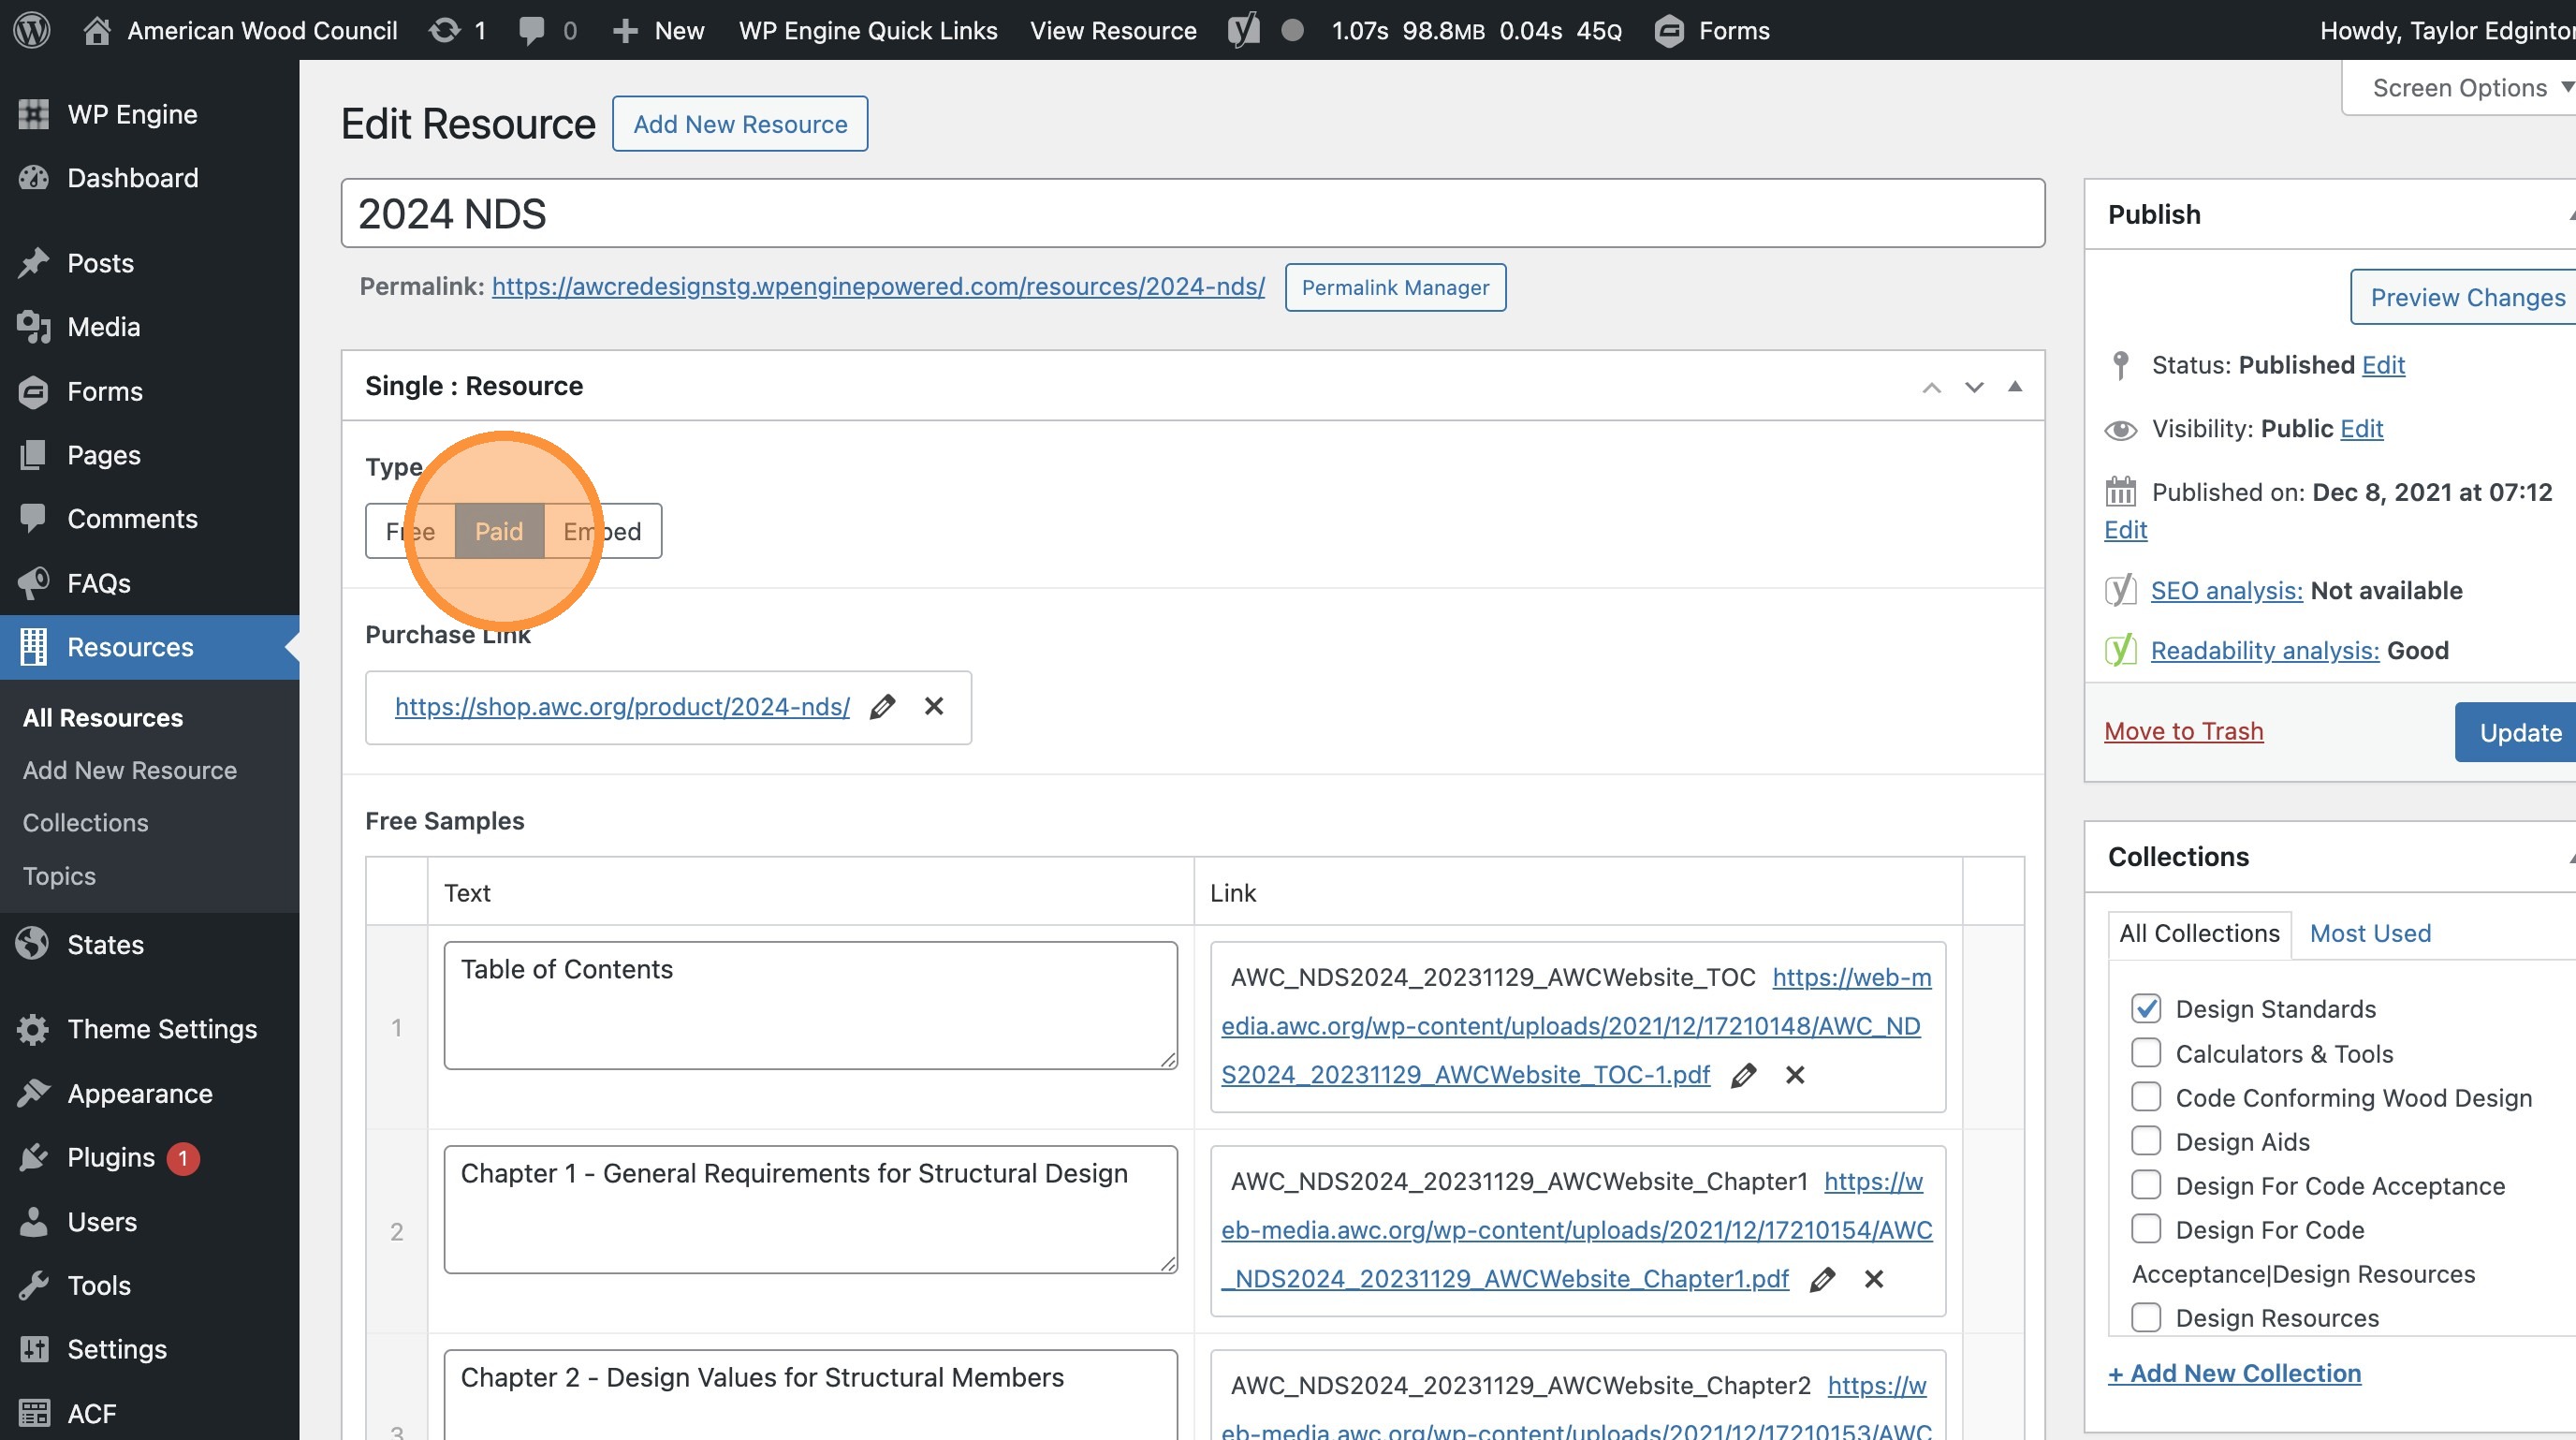
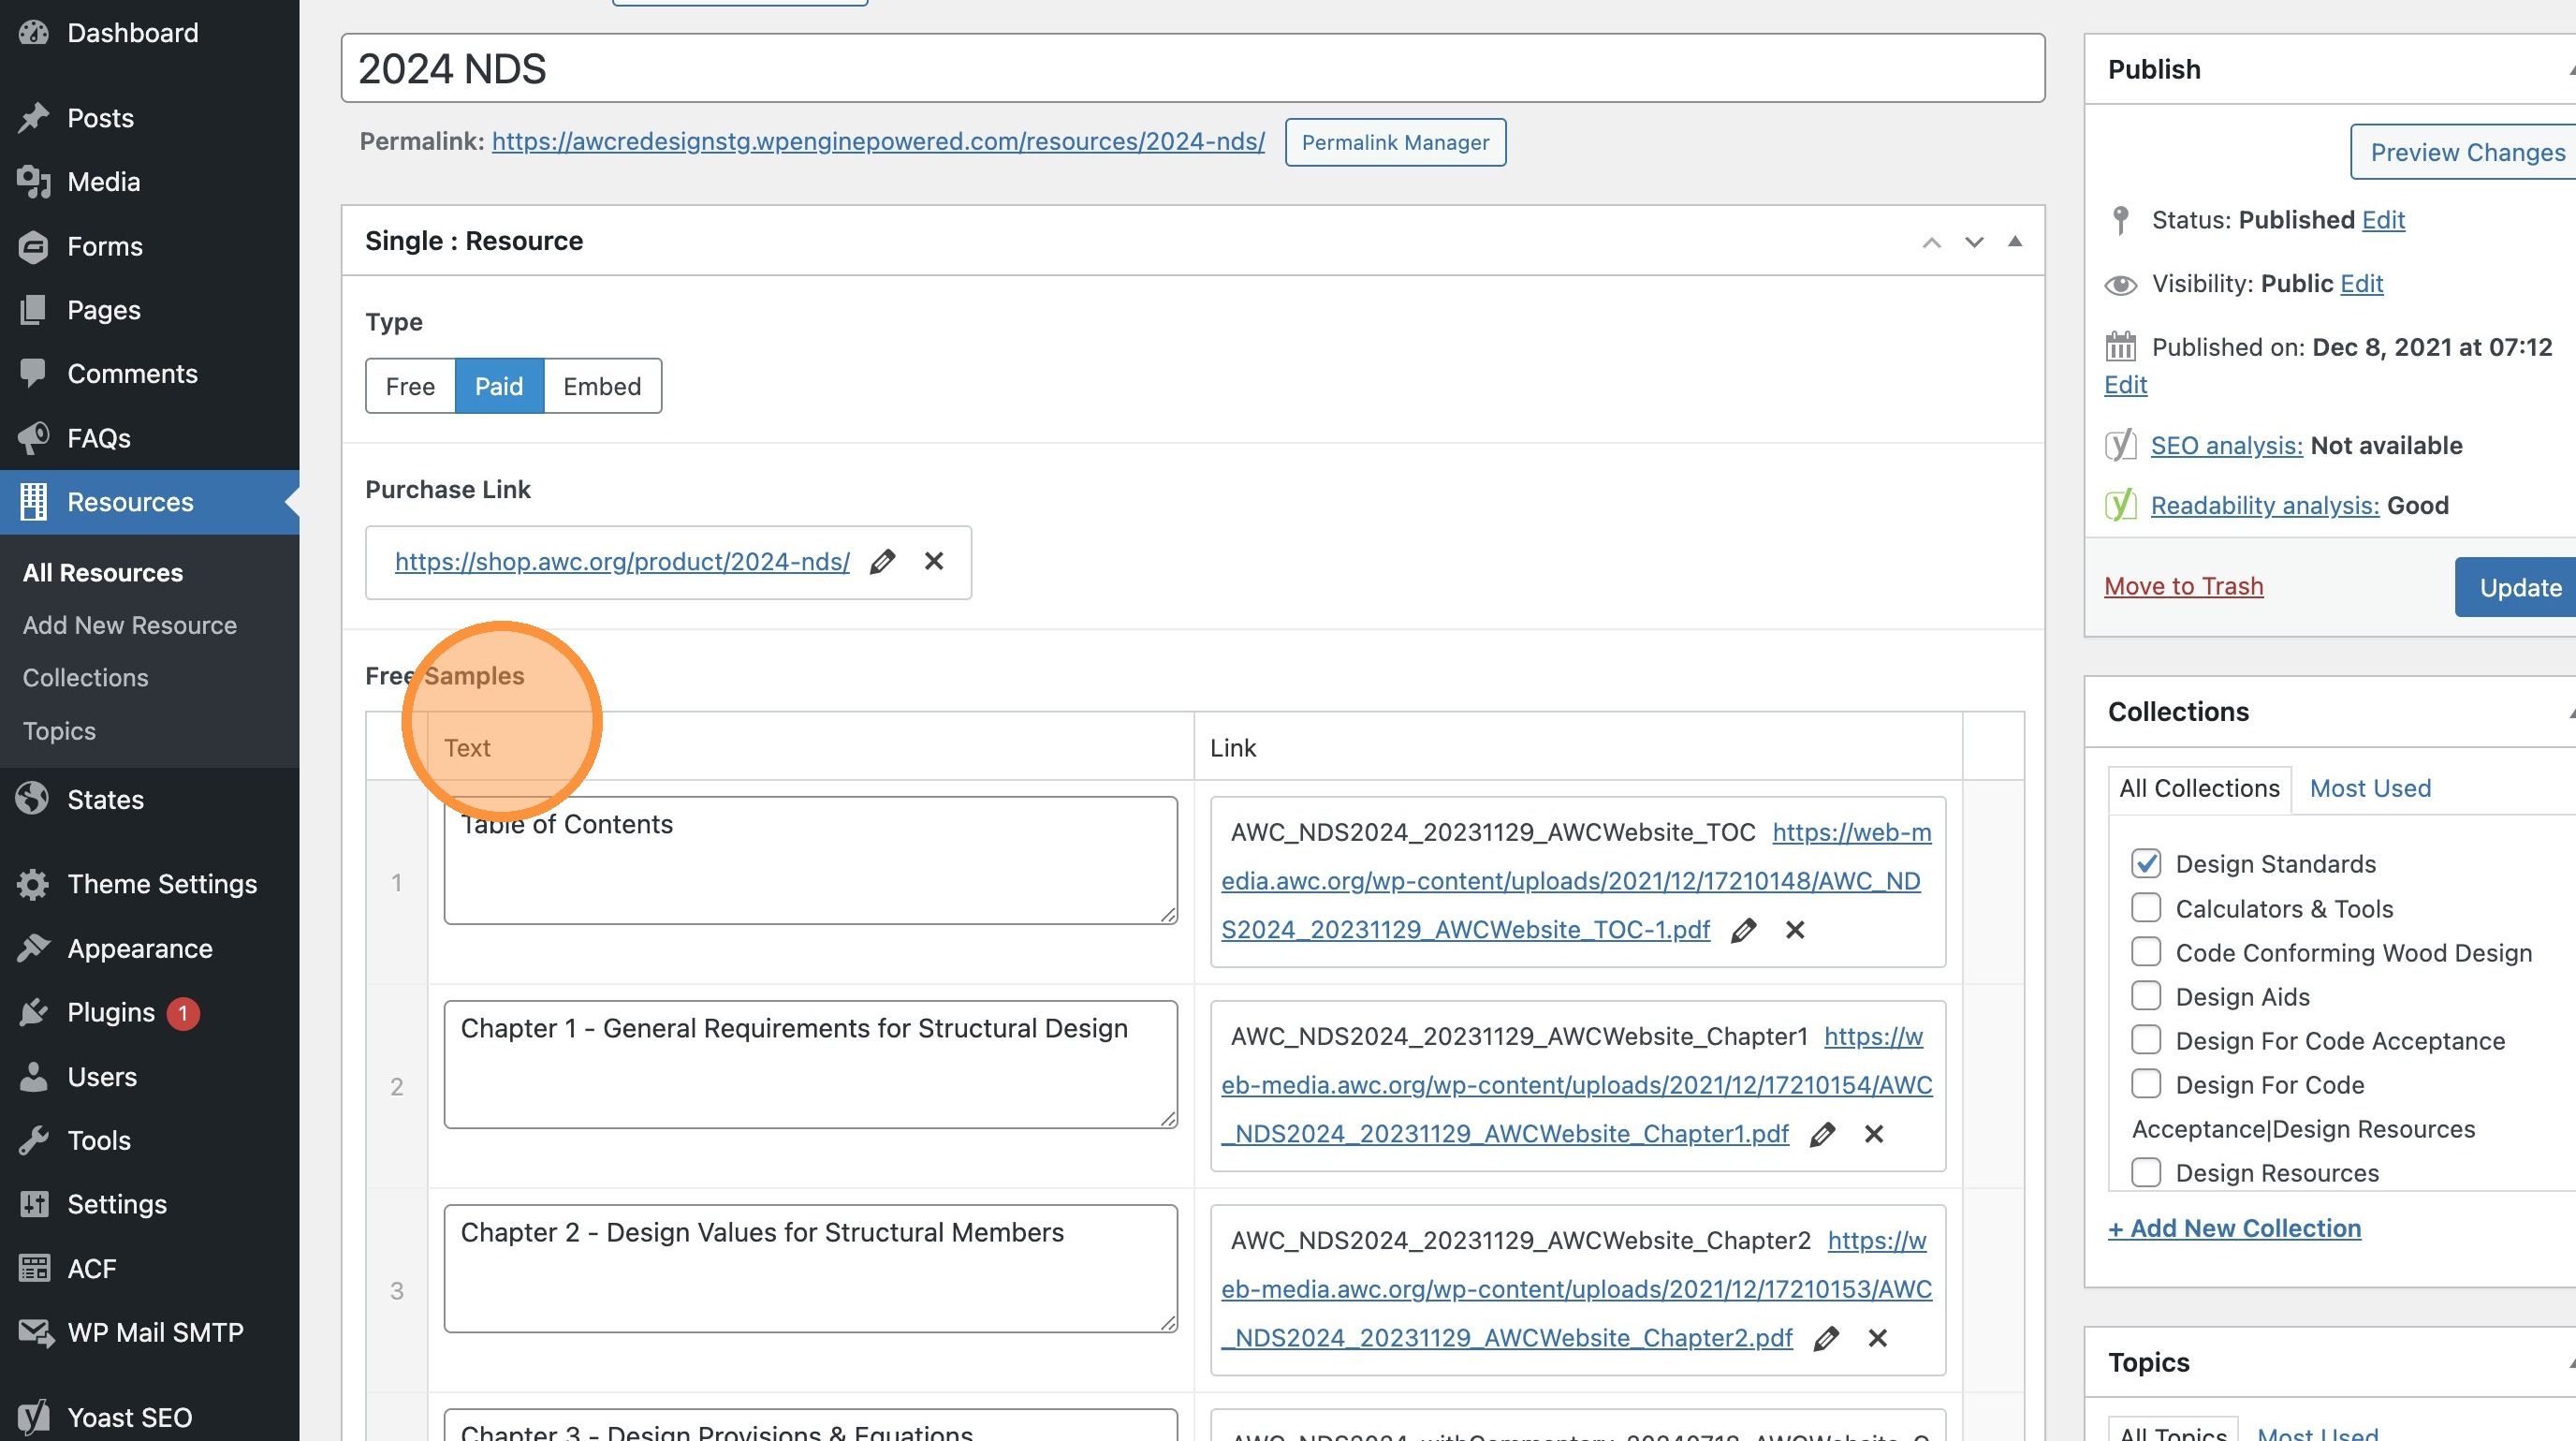
- Use these buttons to change whether the resource appears to paid users.
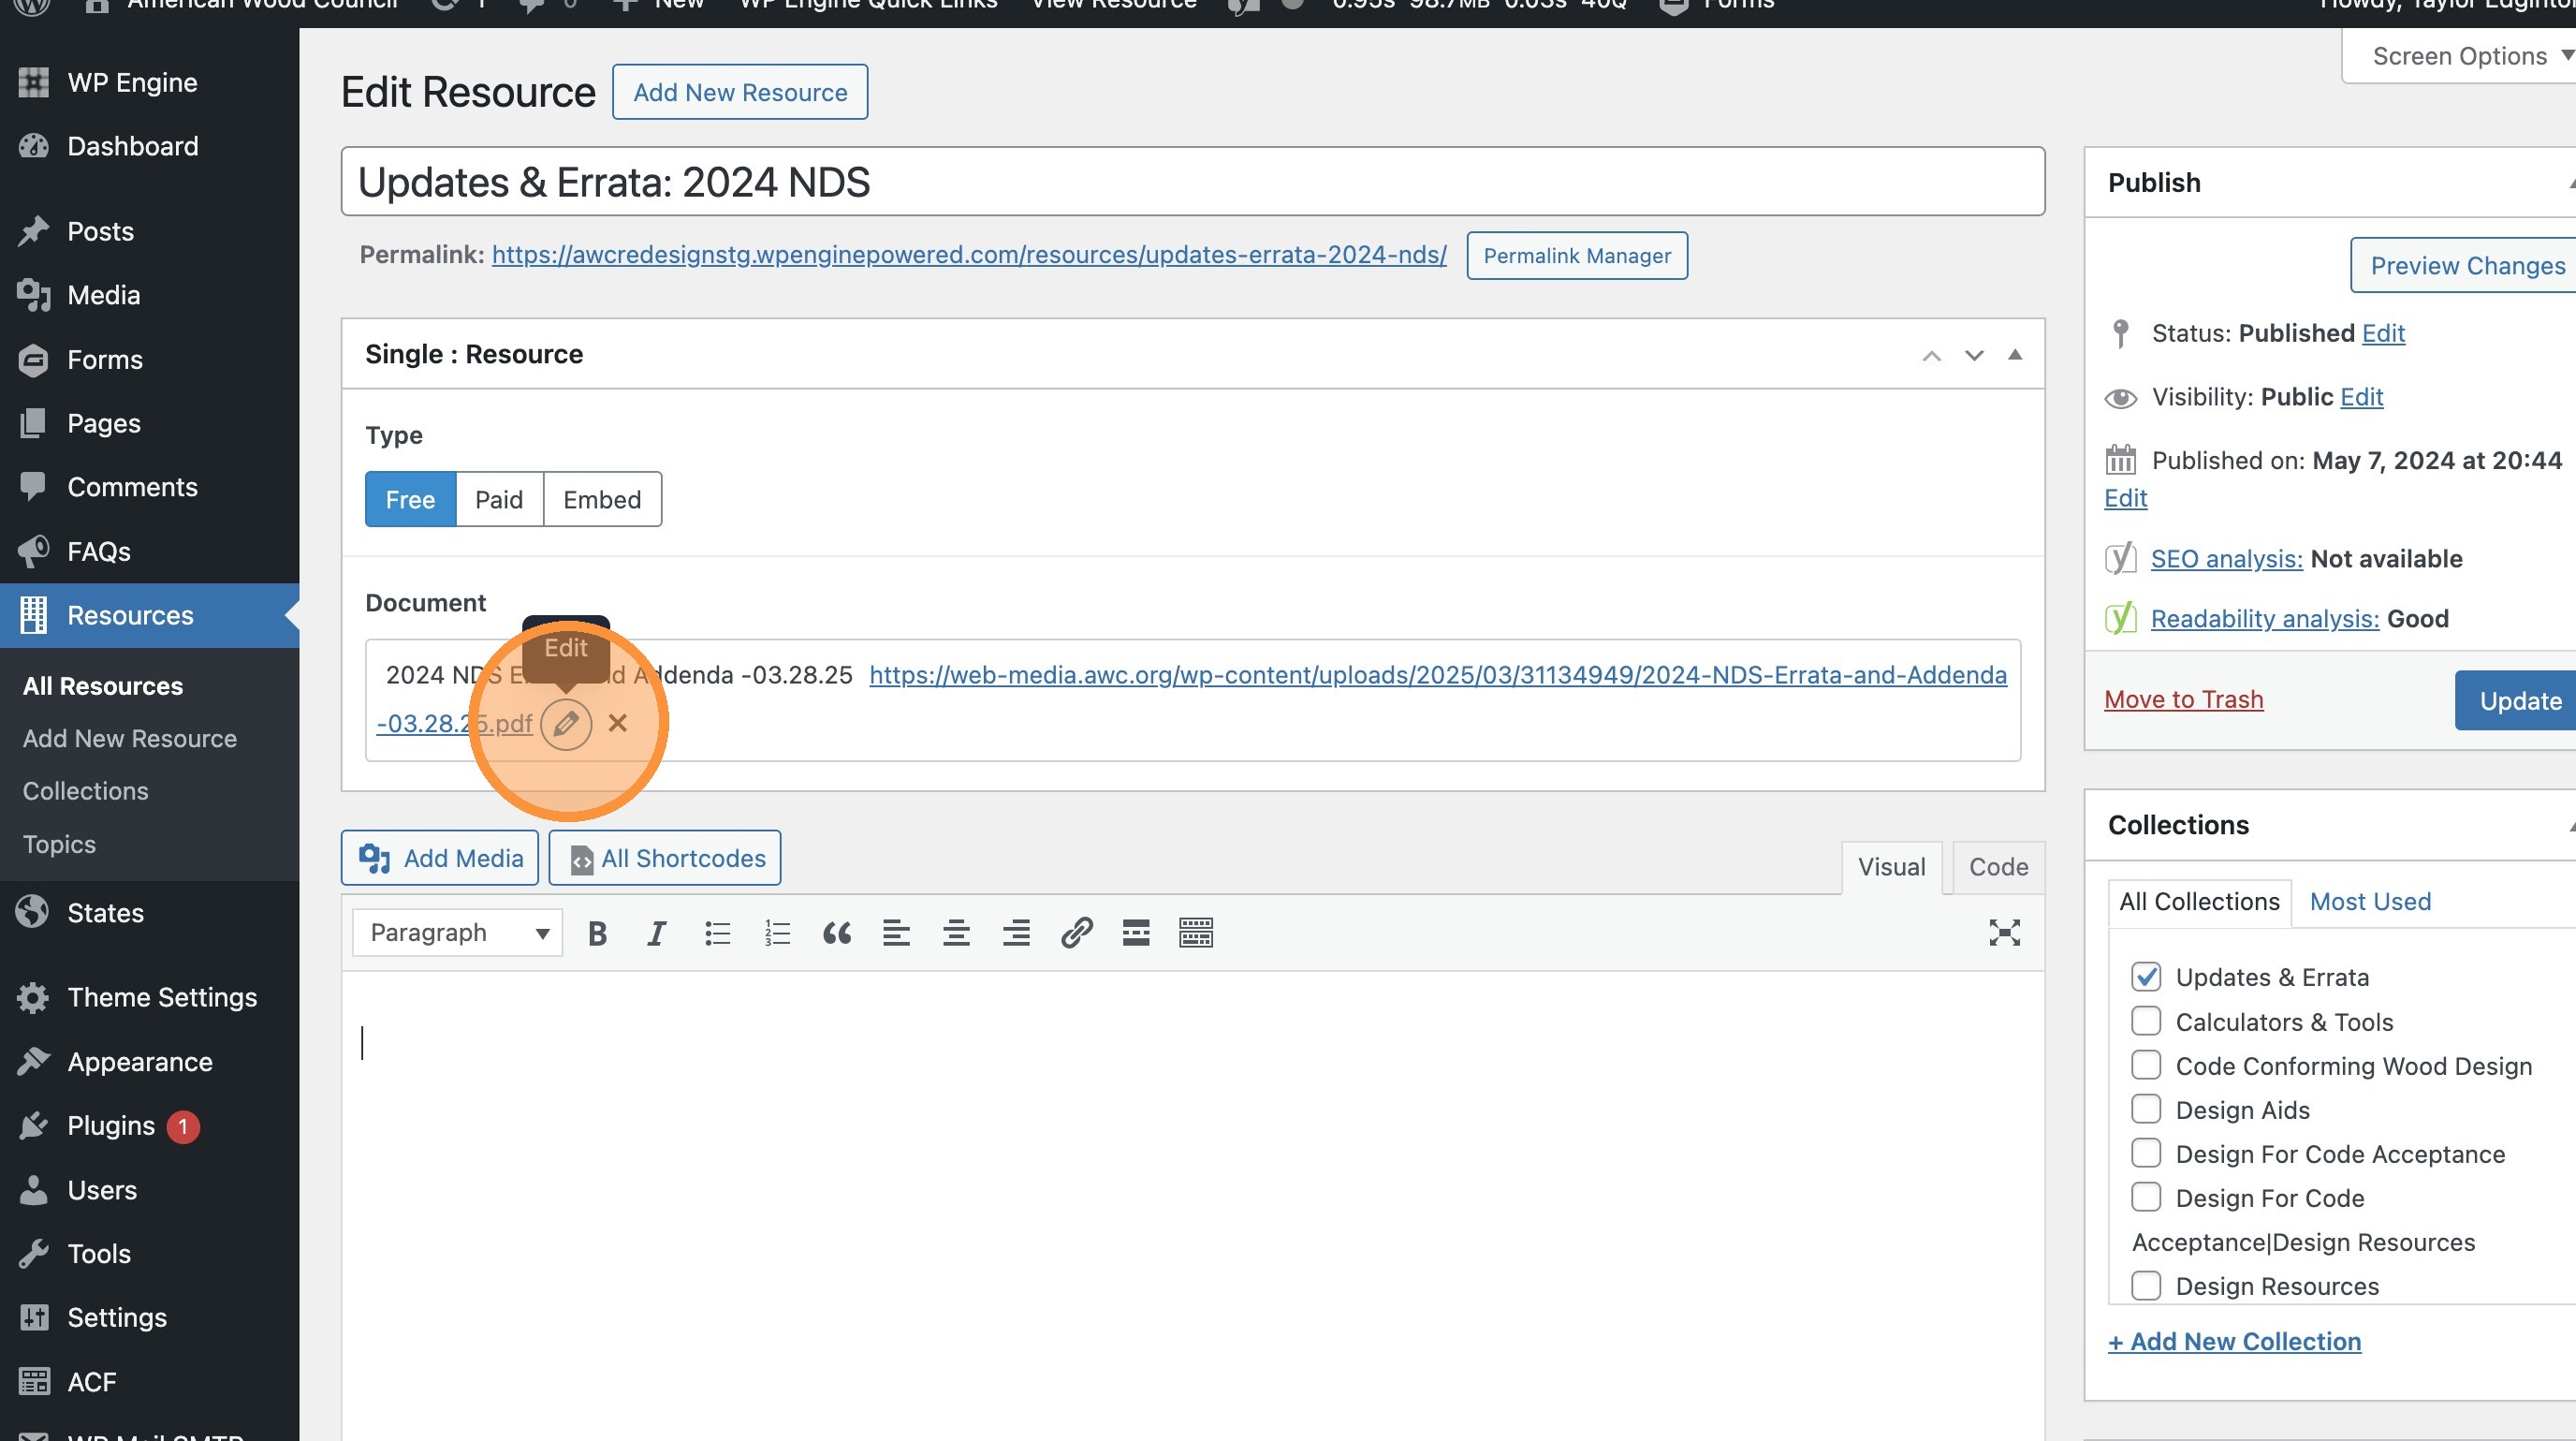
- Clicking on a free resource from the Resource Hub will send the user directly to the resource document.
Click here to change that document’s link.
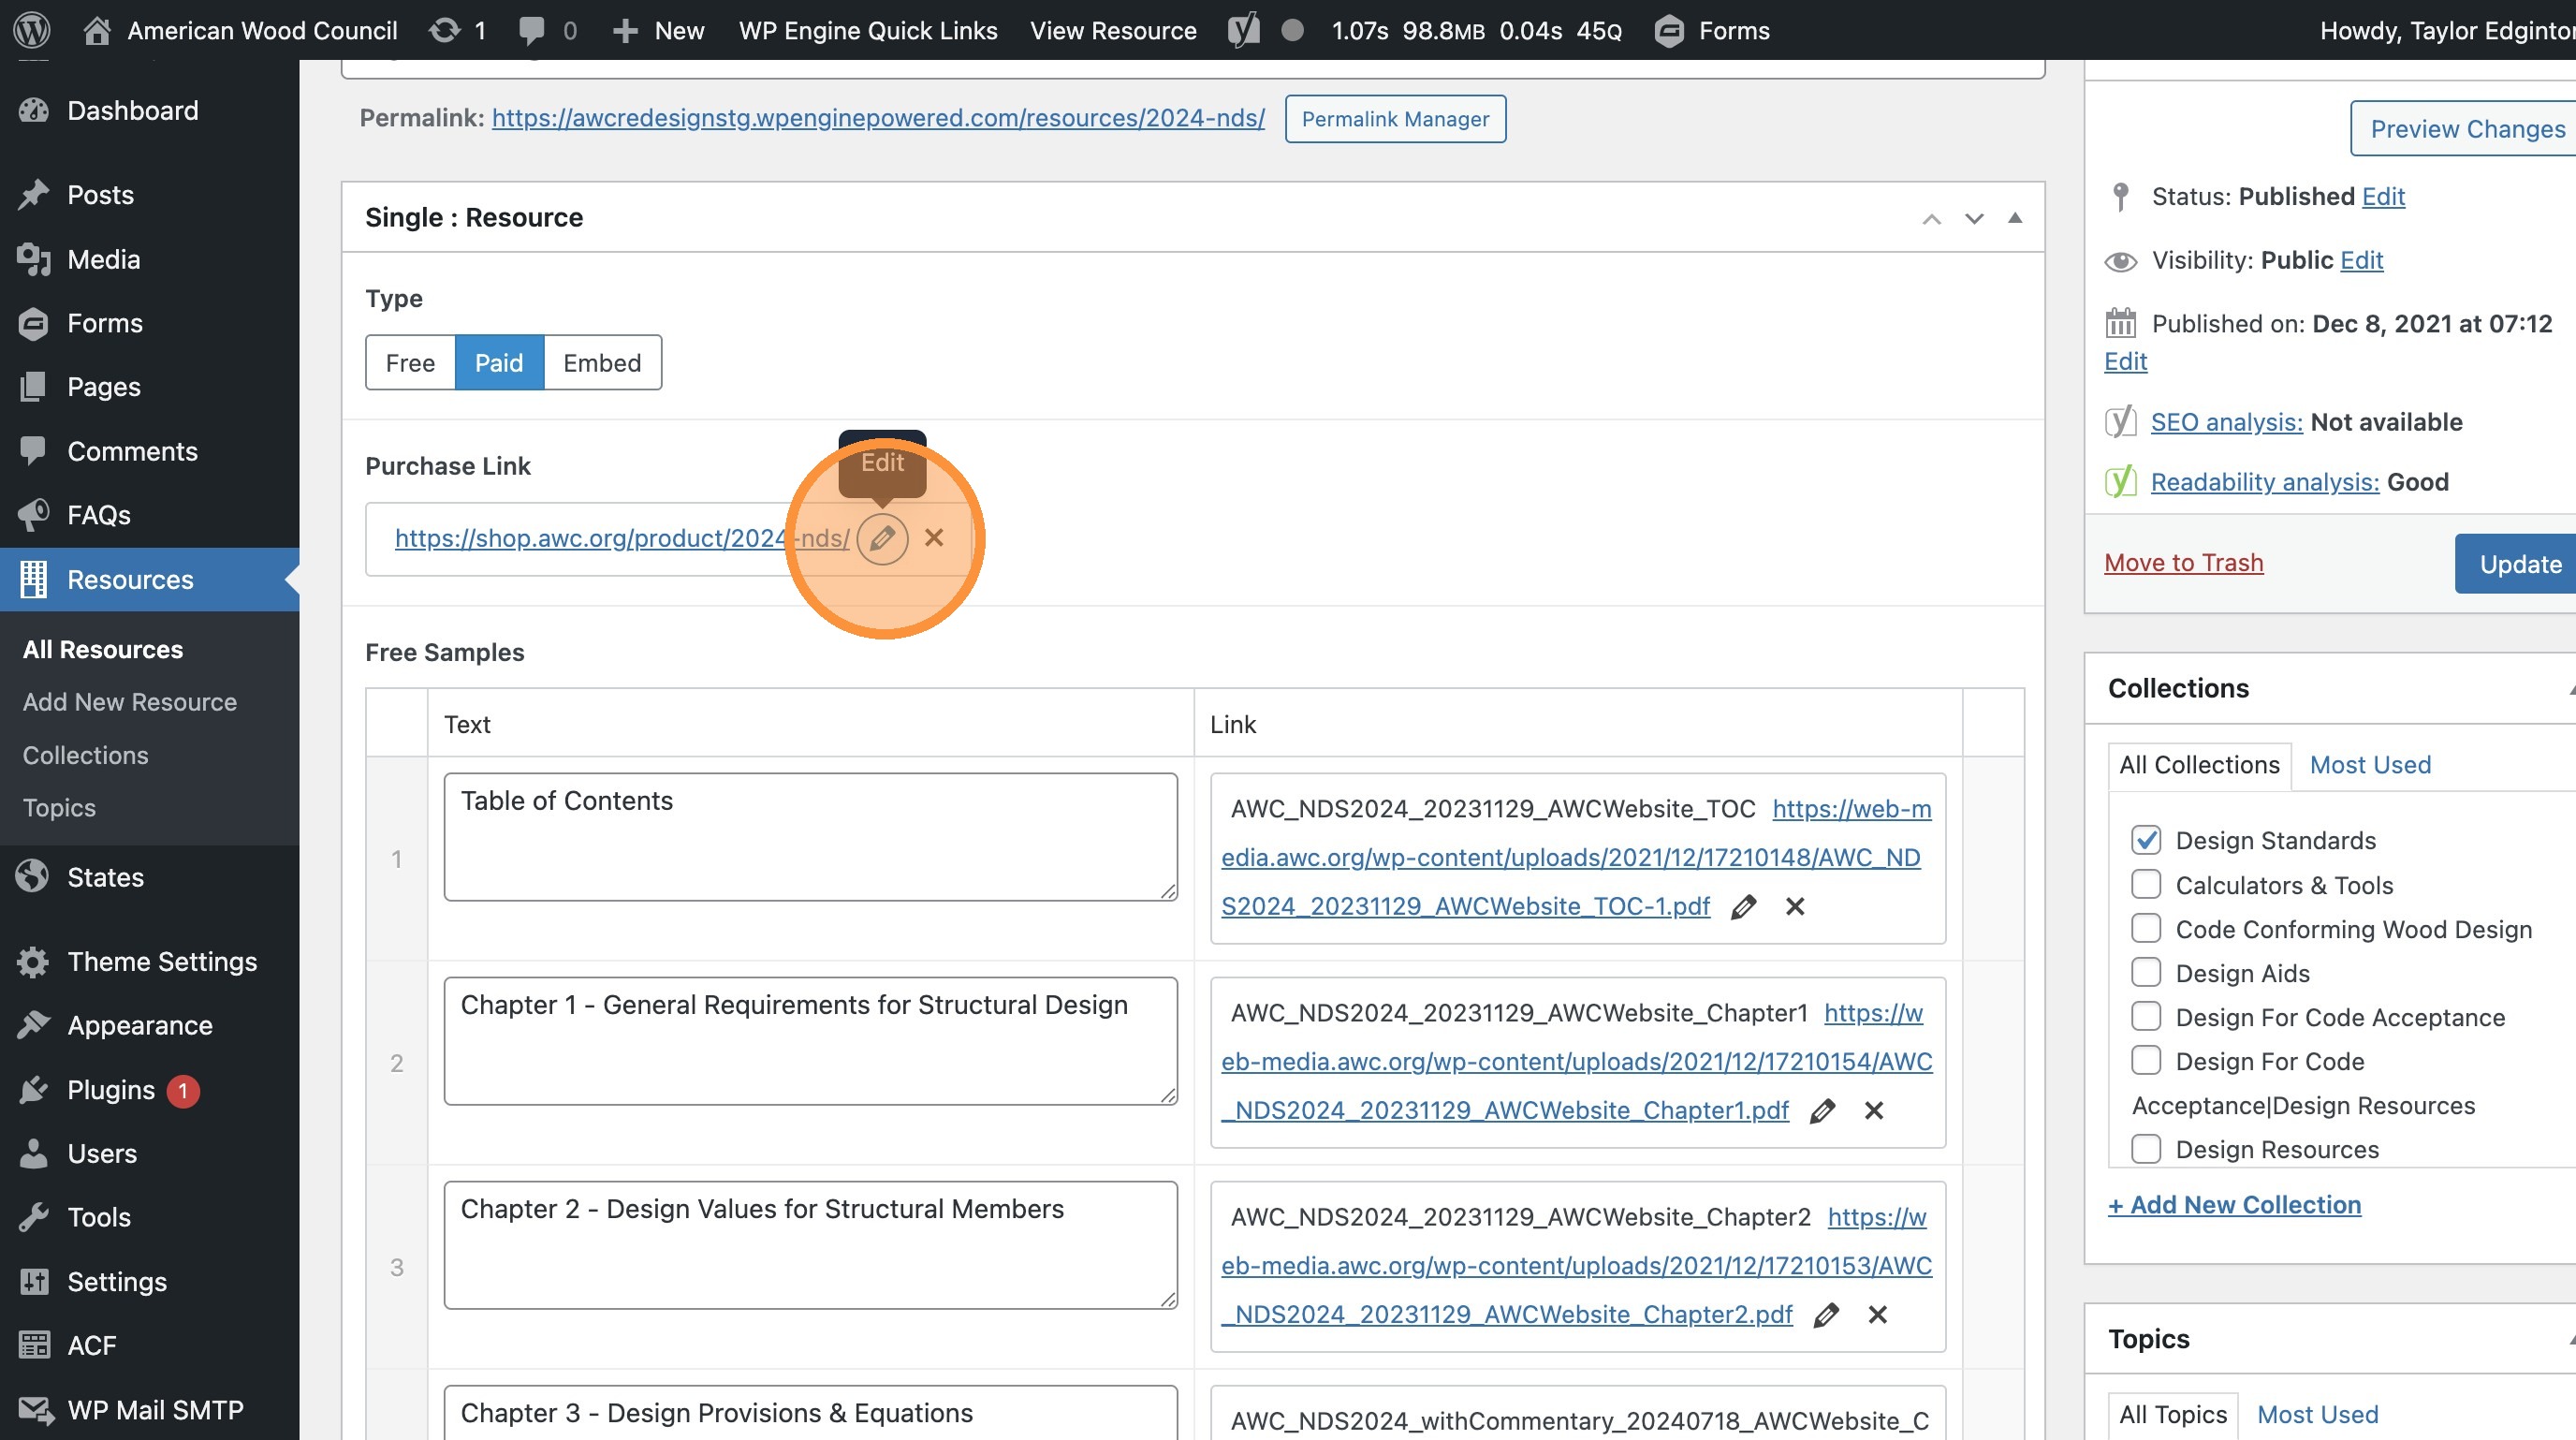
- Clicking a paid resource from the Resource Hub sends the user to a landing page with a link to purchase the resource document.
Click here to change that.
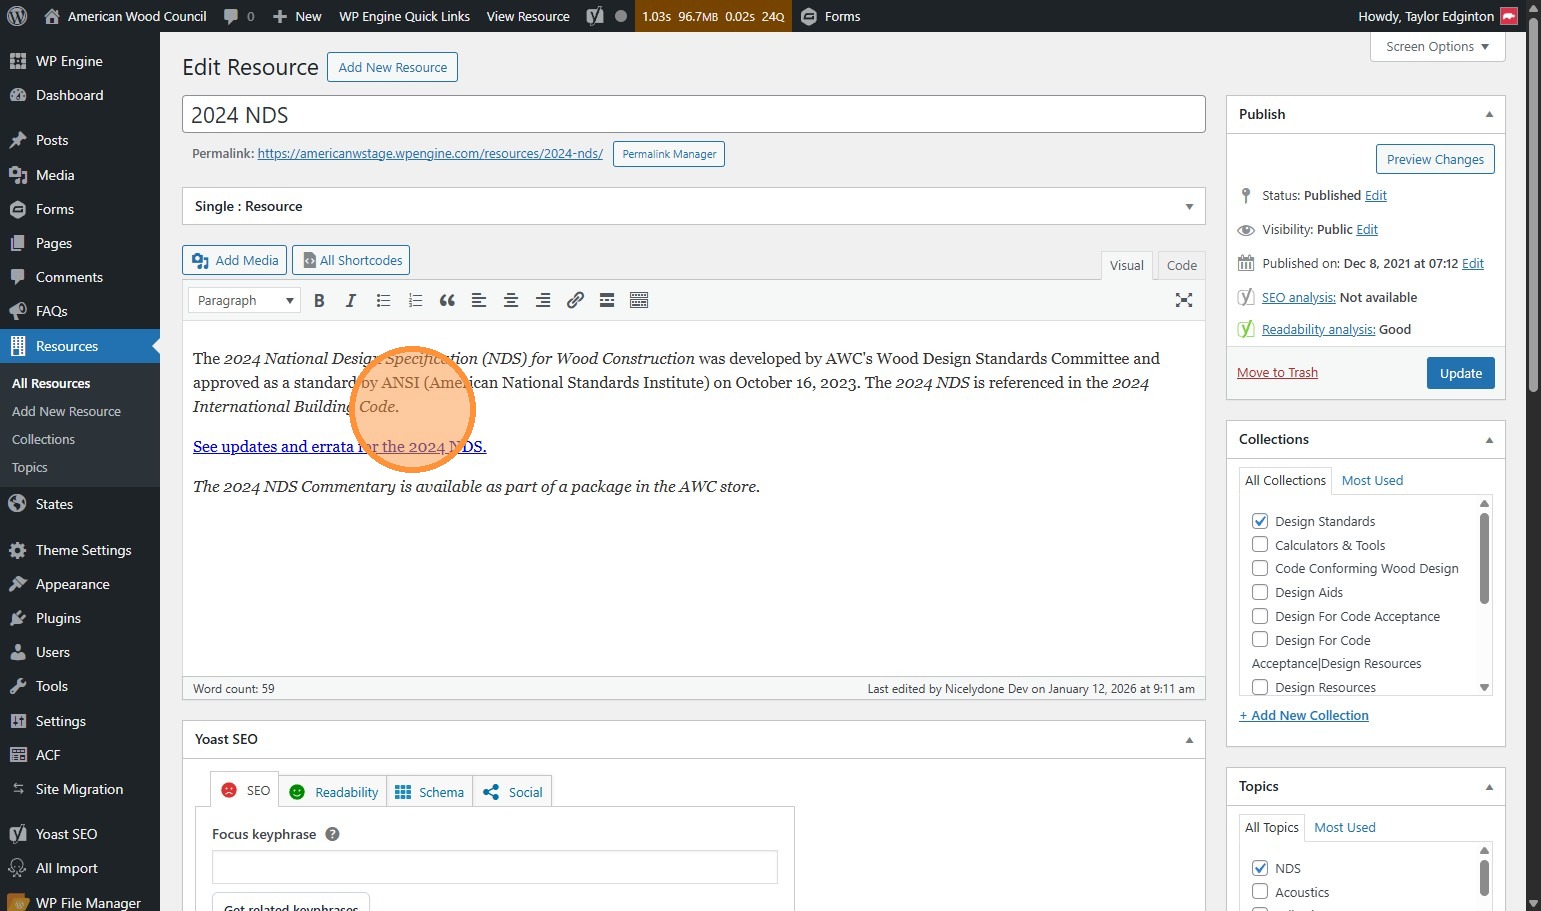
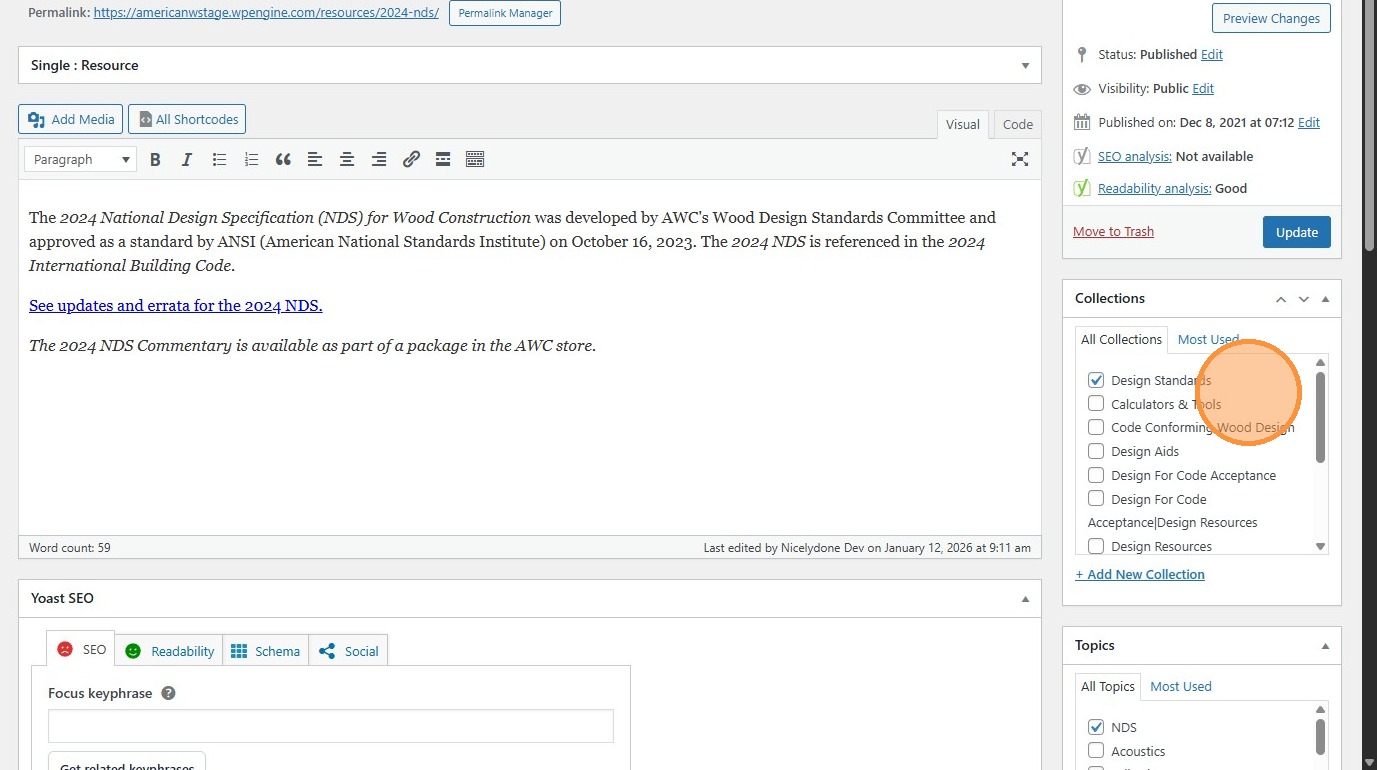
- Change this field below the Resource module (which is collapsed here) to edit the description on a paid resource’s landing page.
- The landing page can also include a selection of free-to-view sections…
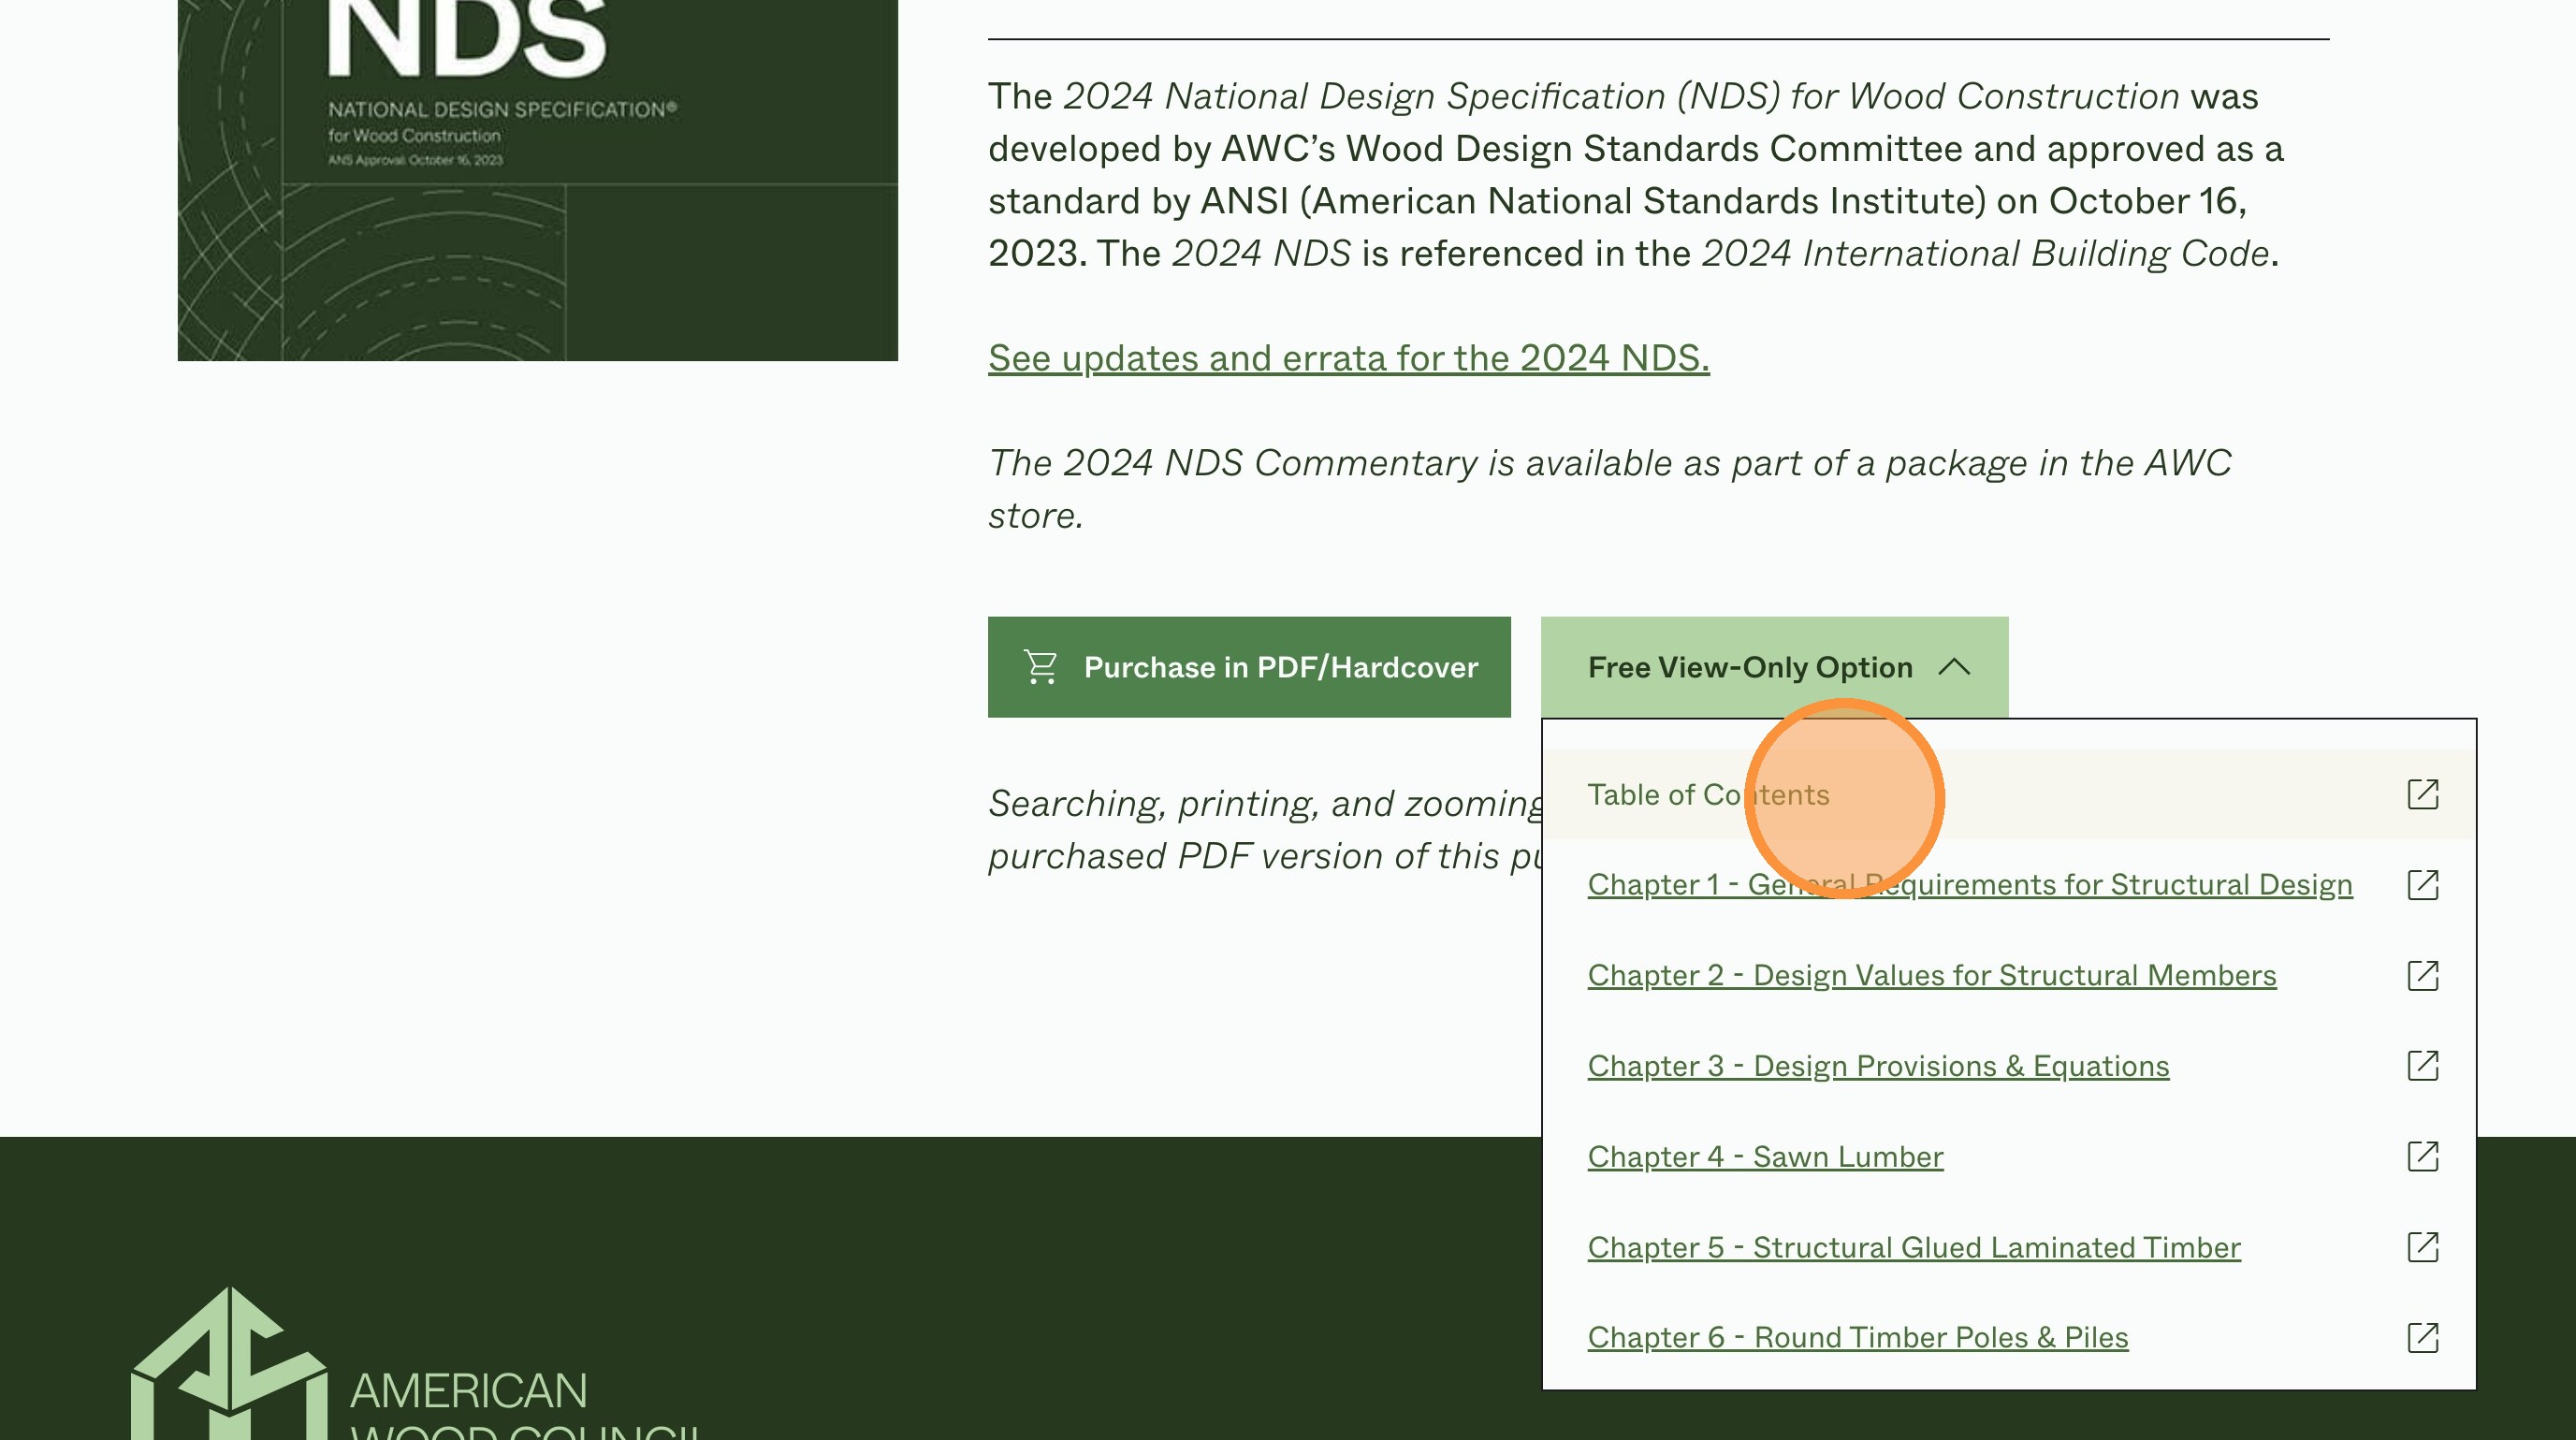
- Back in the Resource module, this is where you can choose what appears there.
Each section has to be linked as a separate document.
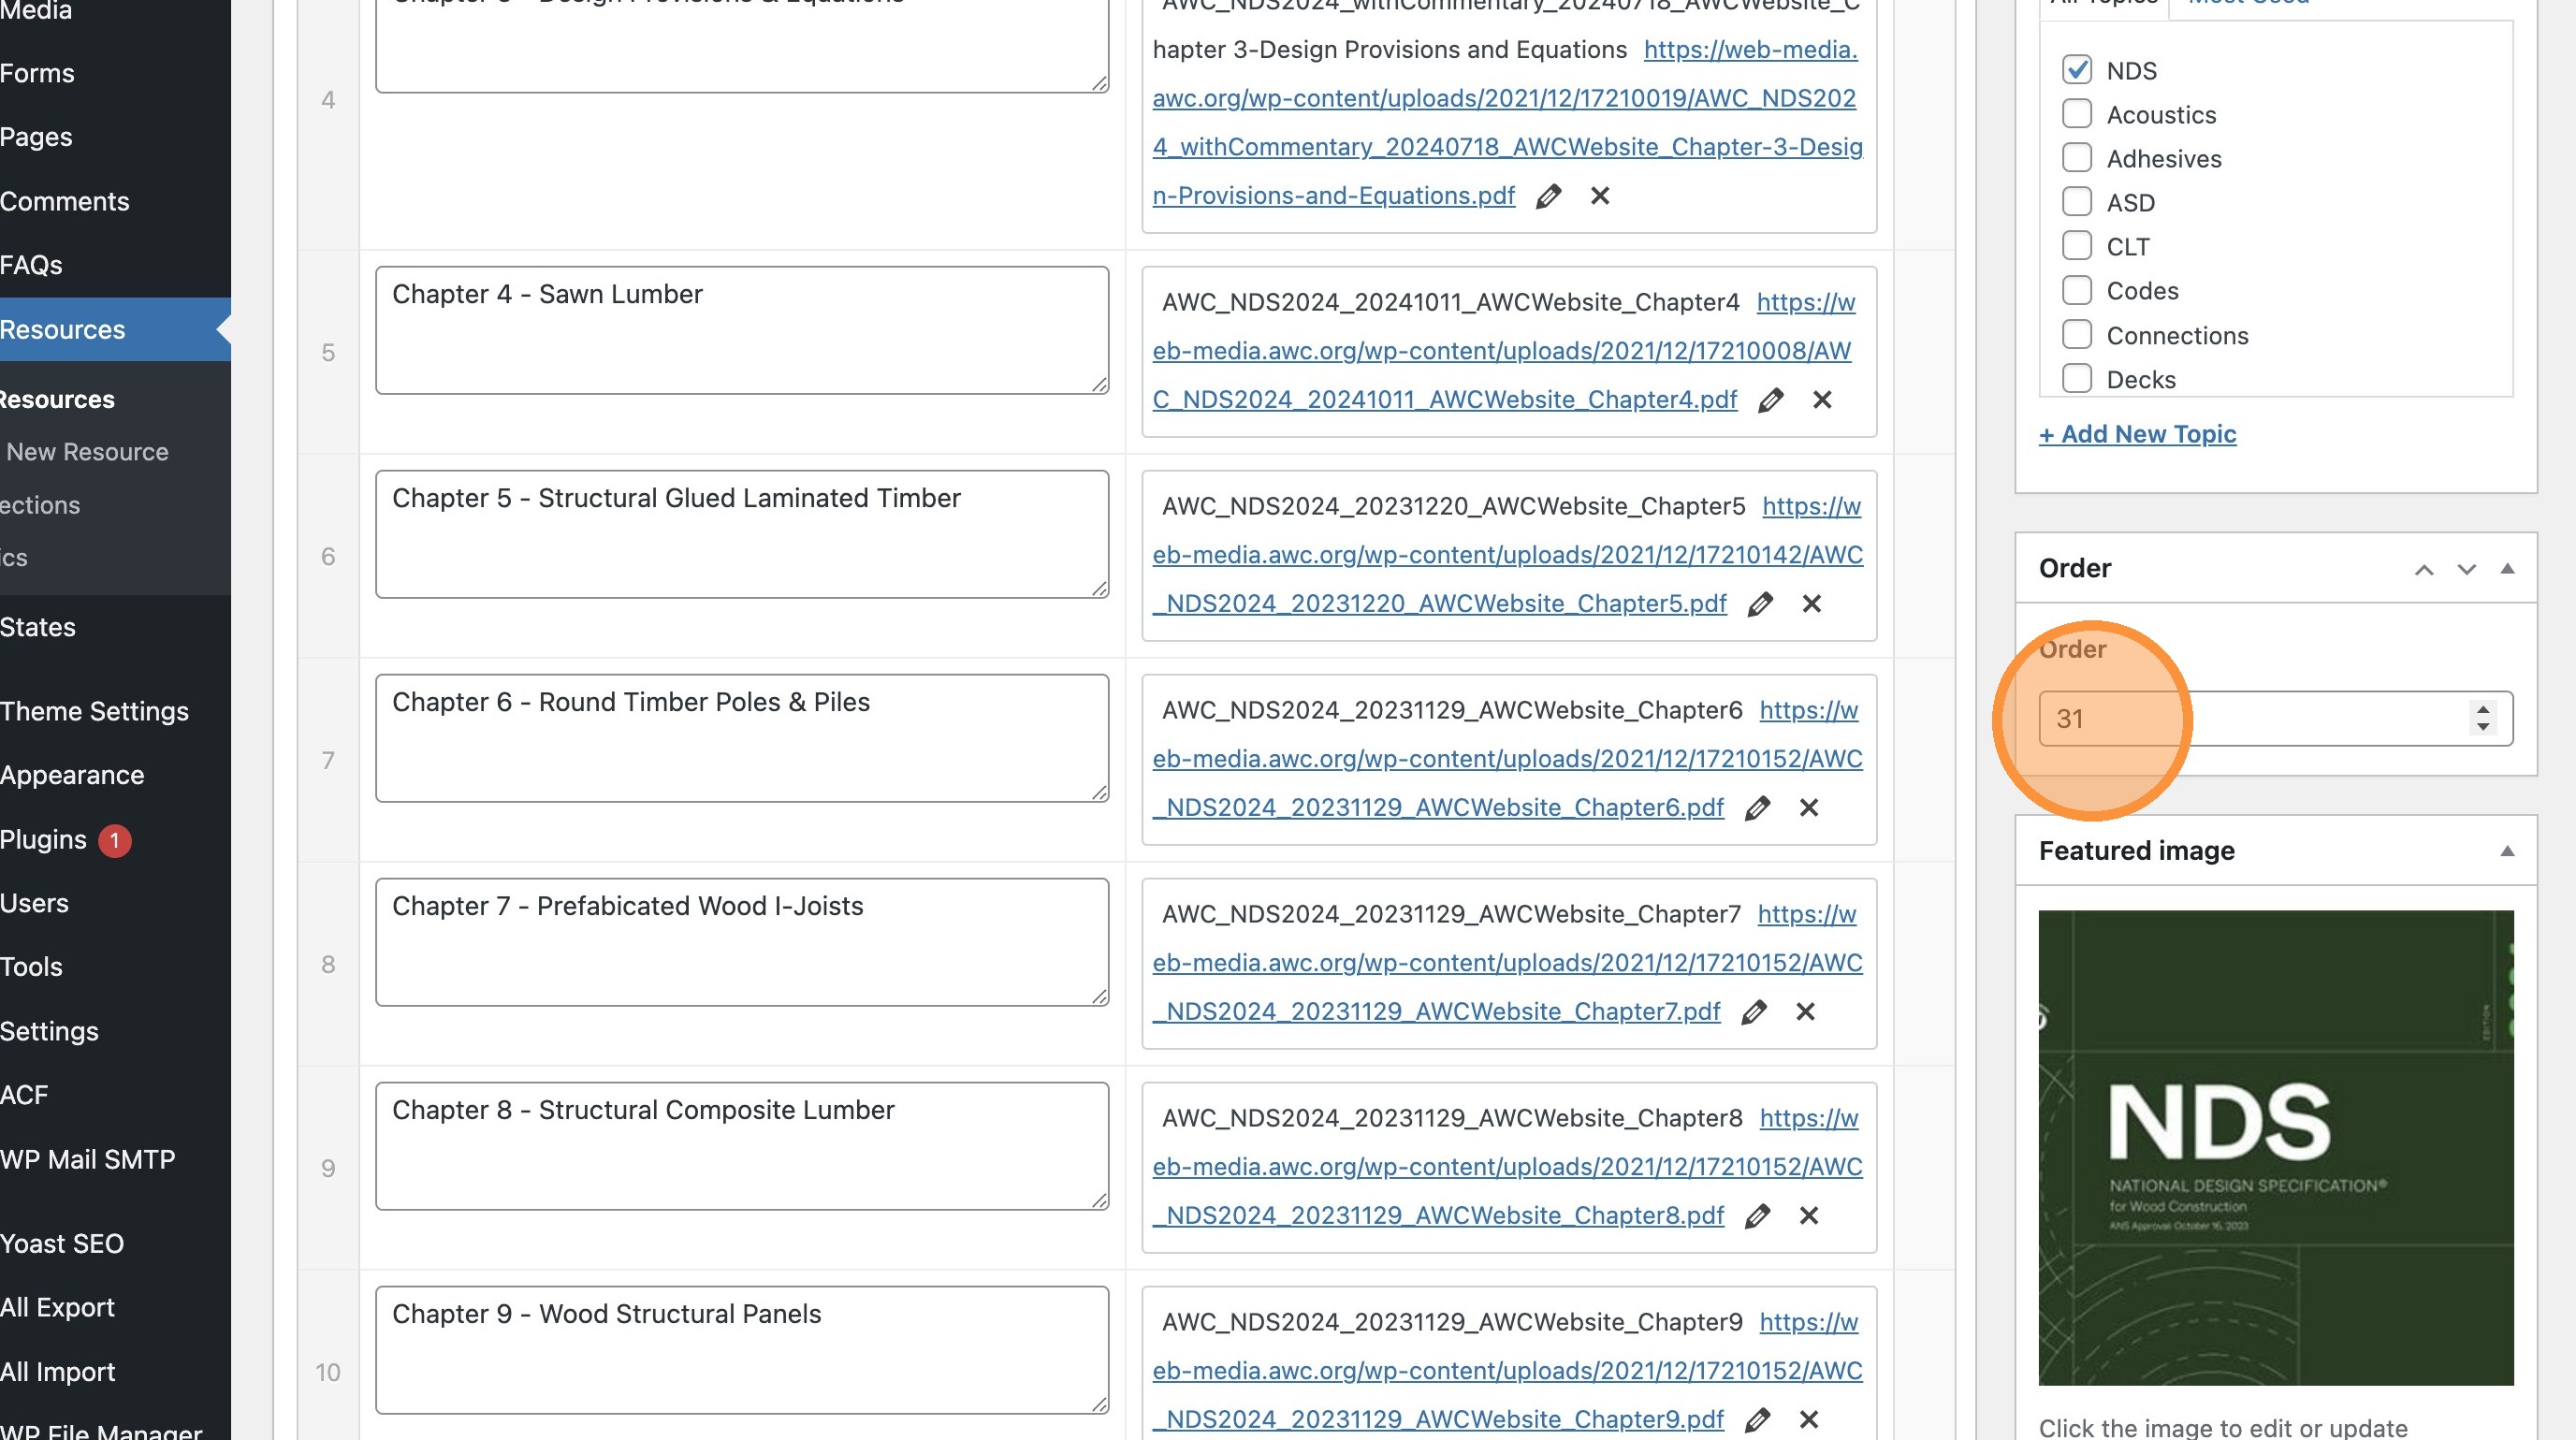
- Edit the “Order” field to change the order in which it appears in the Resource Hub’s list.
You can use decimals to put a document in between two existing documents, so you don’t have to edit the others.
- Categorize the resource with this menu. This will change where it shows up on the Resource Hub
- Same with this menu.
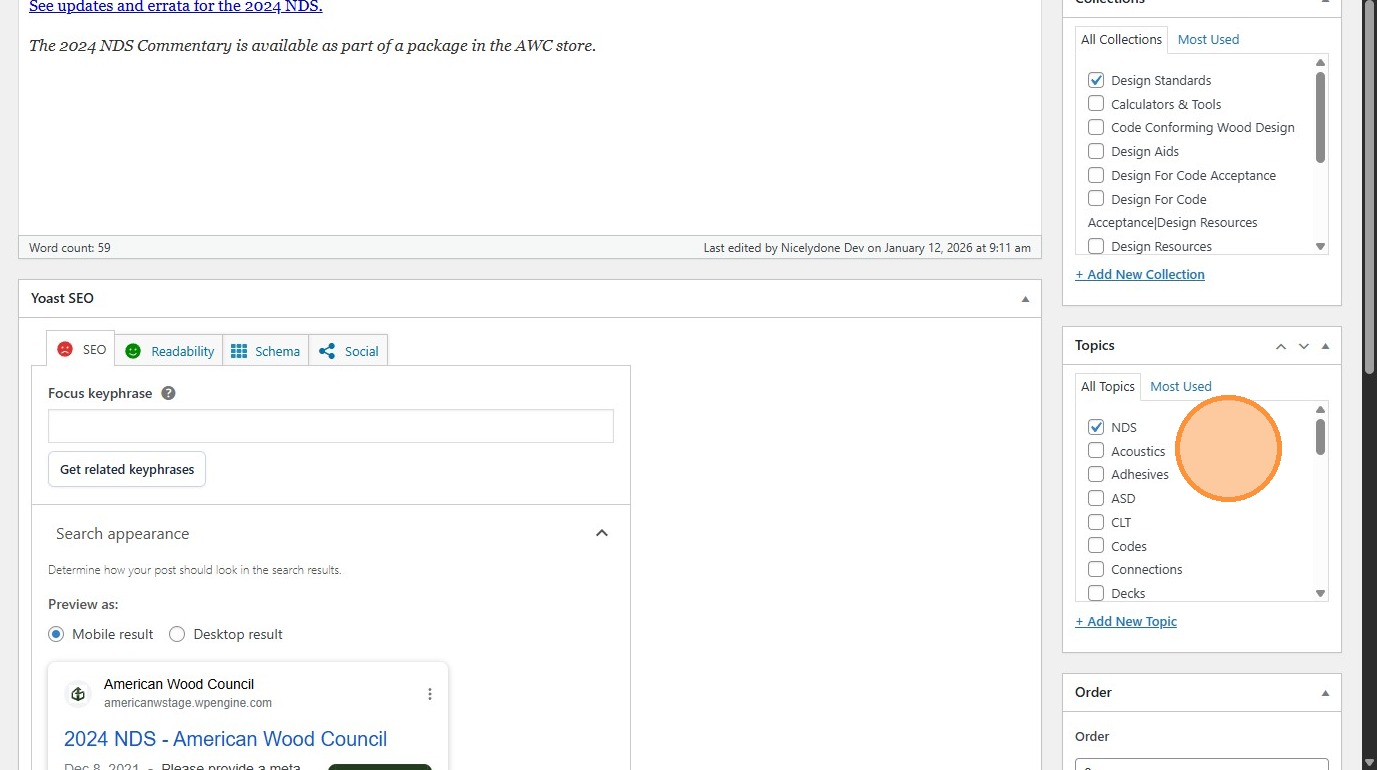
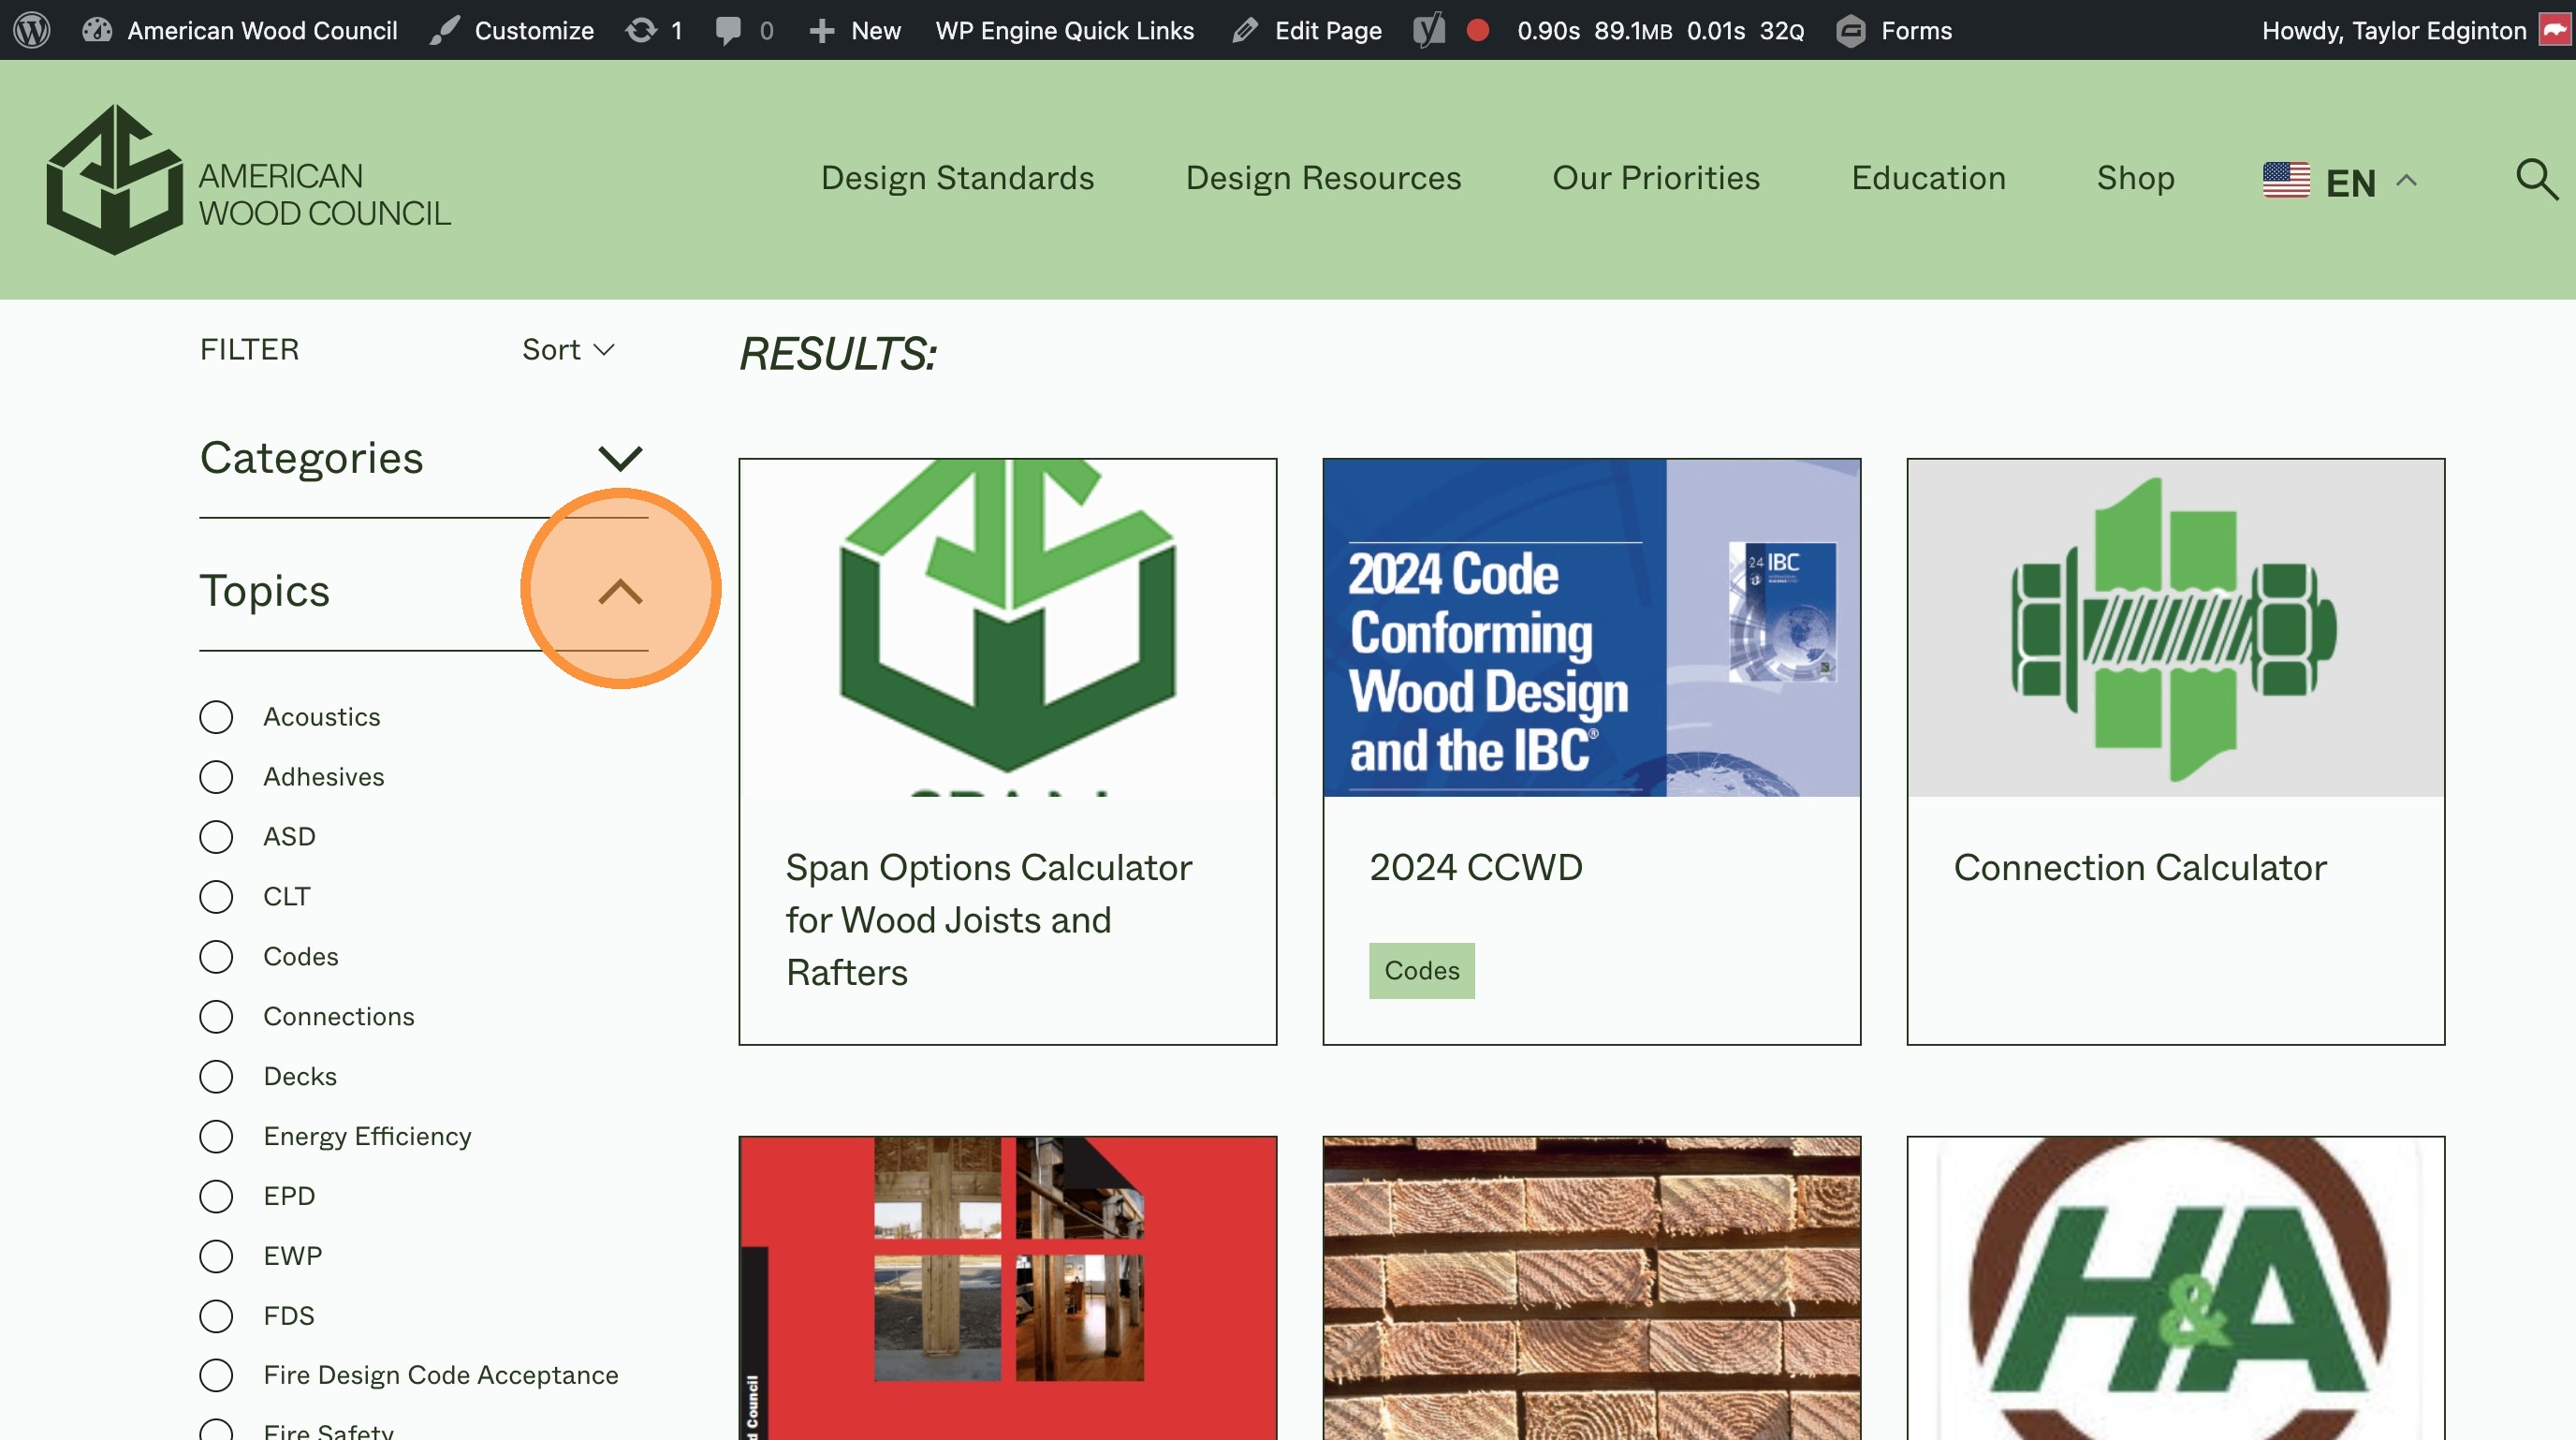
- Those two menus change which filters it will show up under, here.
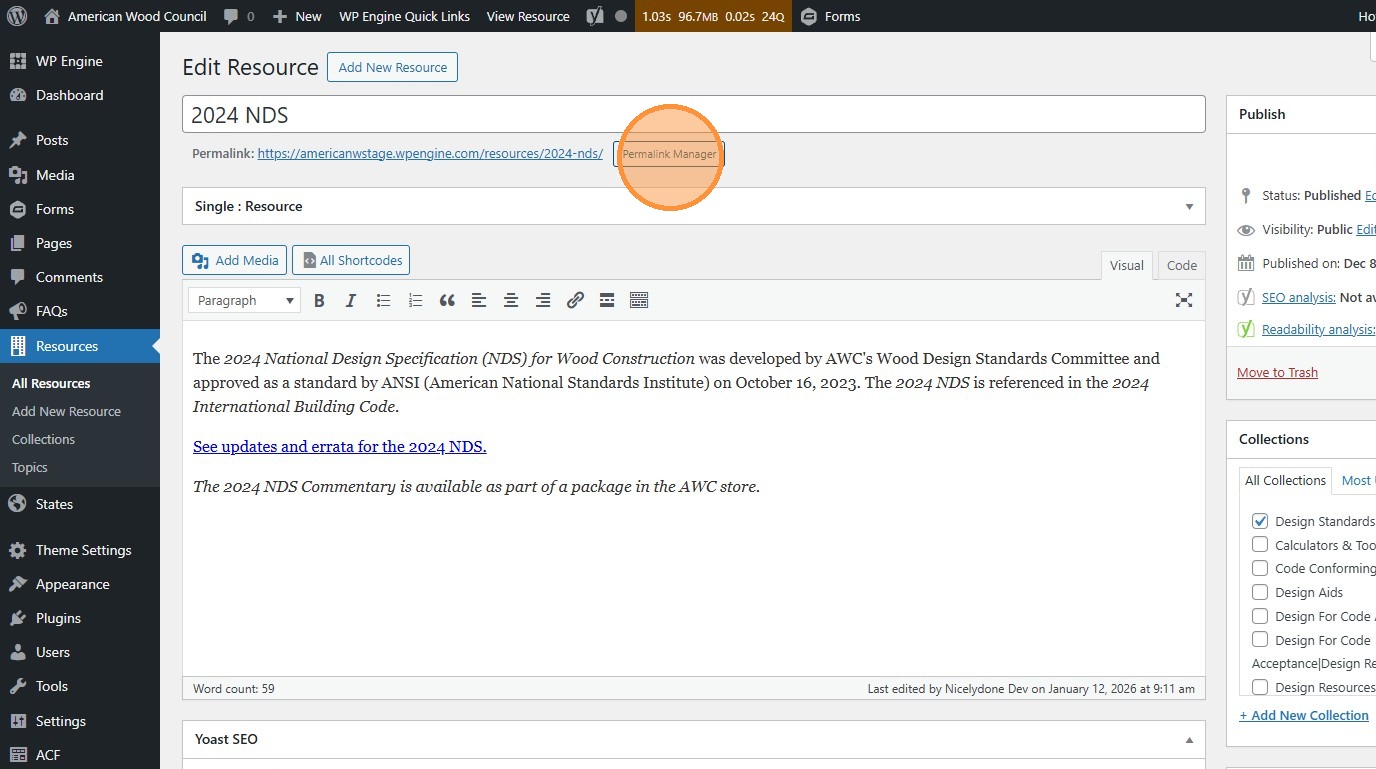
- Click the “Permalink Manager” (or “Edit”) button to change the page’s URL
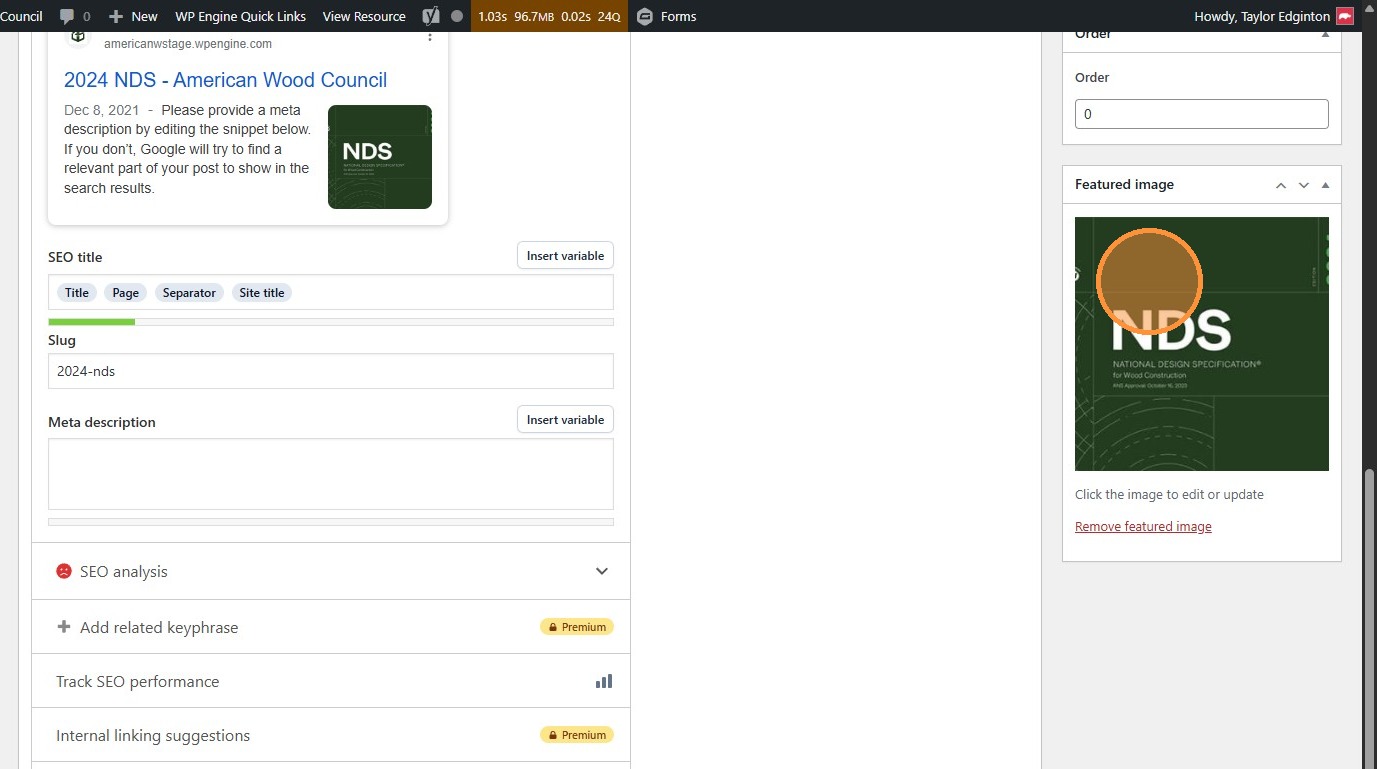
- Click “Set featured image” to add the image that appears on the Resource Hub. Click an existing image to replace or change it
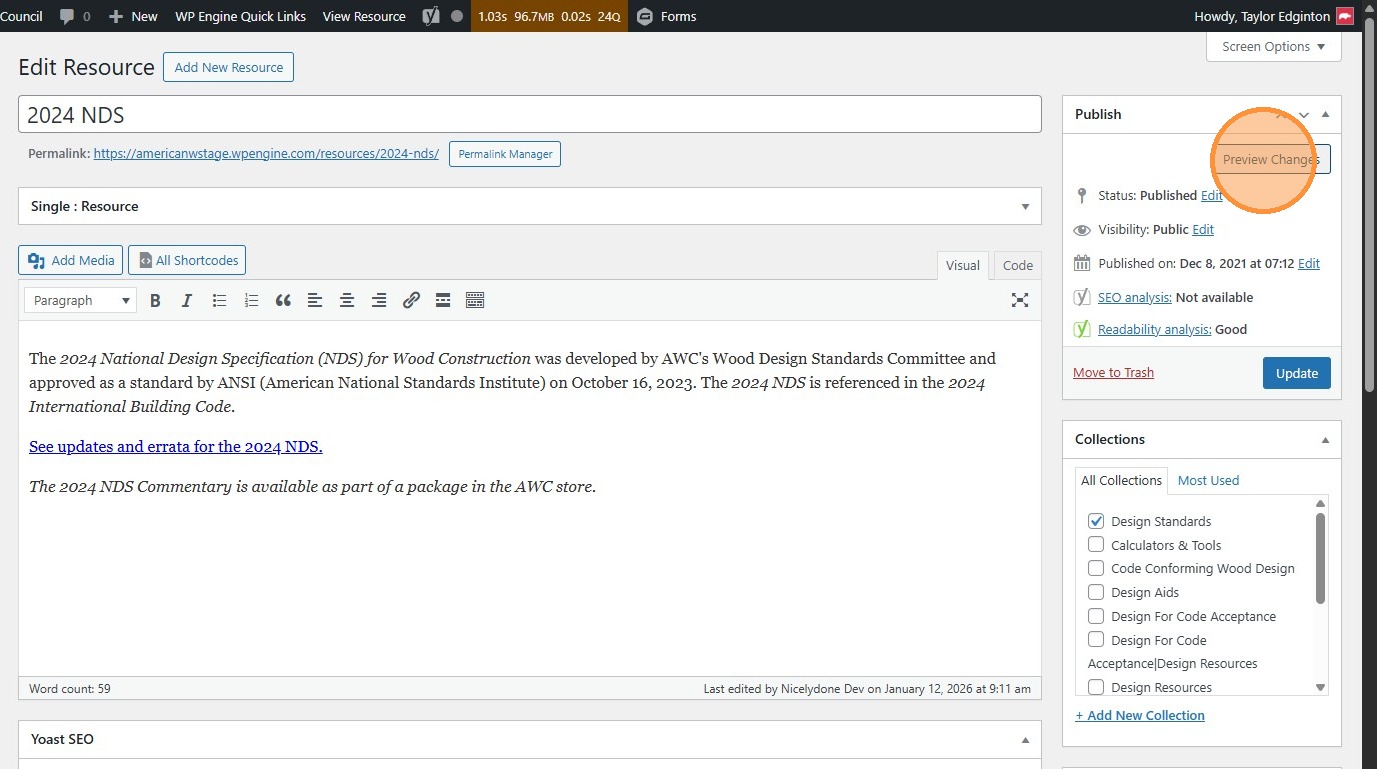
- Click “Preview Changes” (opens in a new tab) to see your changes before they’re official.
This will send you to where users are sent when they click the resource from the Resource Hub so, for free documents, it sends you straight to the document and, for paid, it sends you to the landing page.
- Click “Update” to publish changes to the live site.